

Core design guide
Membrane Switch Design Guide
Follow the interface from the printed front through the spacer, dome or flat contact, circuit, tail, connector, adhesive, and approval data.
Open resource
Use this library to move from an interface idea to a reviewable drawing, material stack, circuit plan, sample approval method, and focused quotation request. Every link opens an existing technical page, published case study, or downloadable planning sheet.
Review the layer stack, key construction, artwork, dimensions, tail, connector, lighting, and approval inputs that shape a membrane switch.
Open resource02Compare front films, printed layers, spacers, domes, adhesives, windows, surfaces, and environmental limits as one construction.
Open resource03Plan printed conductors, matrix layout, tail routing, bend control, connector pitch, pinout, LEDs, shielding, and electrical checks.
Open resource04Frame moisture, cleaning, UV, temperature, edge design, adhesive width, tail exit, gasket, enclosure, and validation questions.
Open resource05Compare LED, light-guide, EL, dead-front, window, diffusion, masking, light-leak, off-state, and installed-view decisions.
Open resource06Use side-by-side guides to decide between tactile and non-tactile keys, overlays and switches, or membrane and silicone keypads.
Open resource07Read six anonymous OEM project scenarios covering medical, industrial, backlit, waterproof, graphic overlay, and capacitive interfaces.
Open resource08Prepare drawings, quantities, materials, connector information, use environment, sample priorities, and evidence for a useful quotation.
Open resource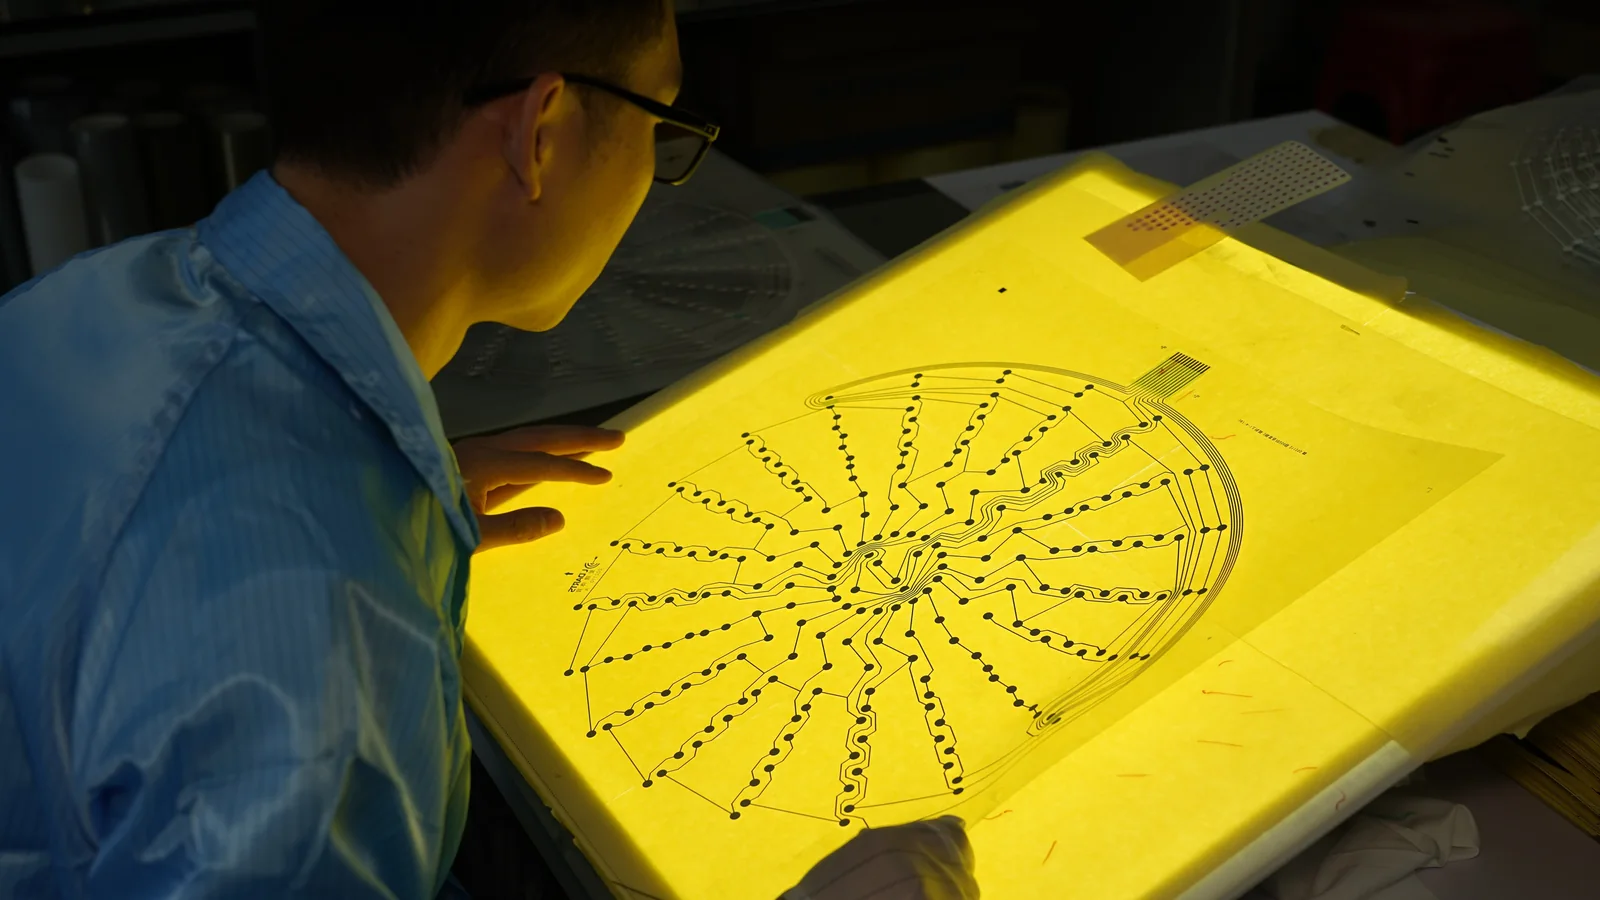
A technical resource is most useful when it helps the buyer expose an interface dependency. JASPER engineering support reviews the information available now, identifies missing decisions, and organizes what should be confirmed in the drawing, sample, or installed assembly.
These six pages cover the decisions most often needed before a buyer can compare constructions, request a useful quotation, or approve a production-intent sample.
Follow the interface from the printed front through the spacer, dome or flat contact, circuit, tail, connector, adhesive, and approval data.
Open resource
Compare PET, polycarbonate, printed inks, spacer layers, adhesives, domes, windows, surface finishes, and project-specific exposure.
Open resource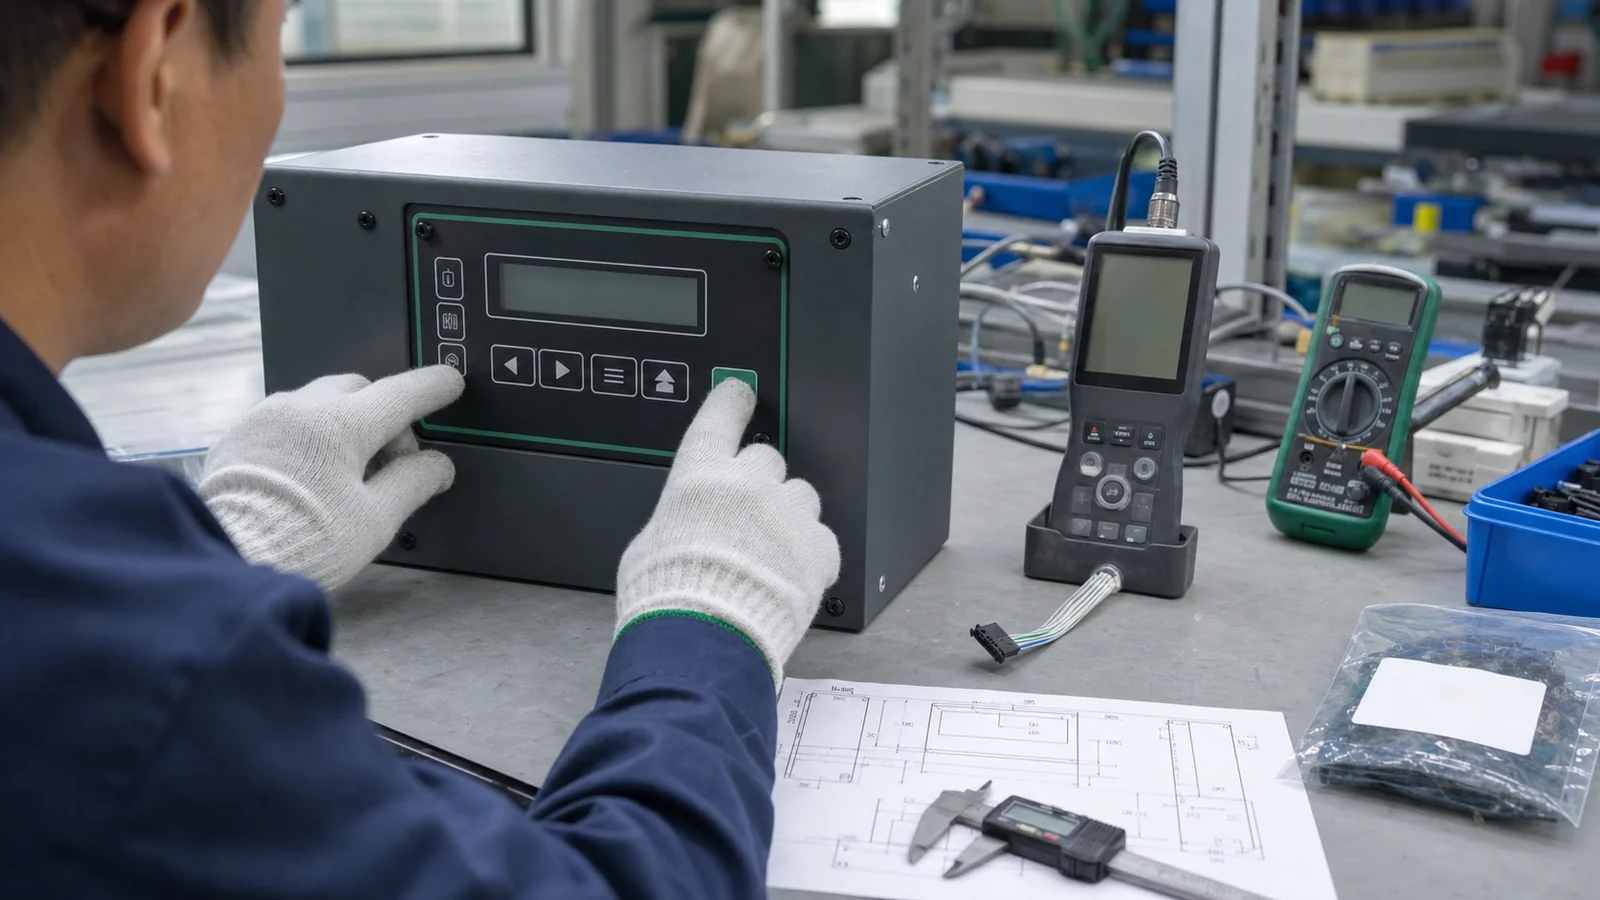
Organize drawings, dimensions, artwork, circuit details, connector, quantity, environment, samples, and testing expectations.
Open resource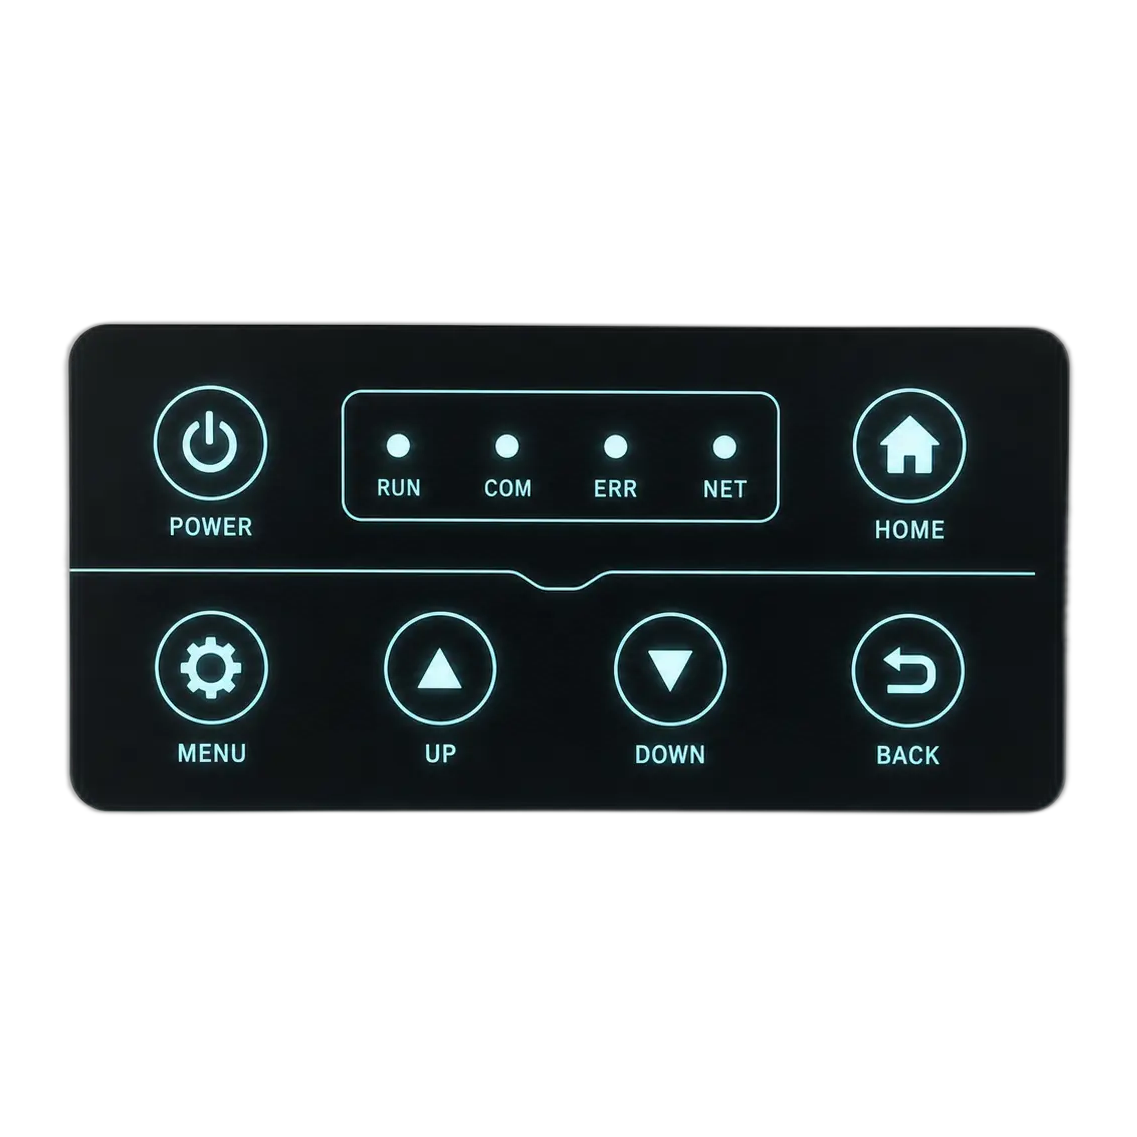
Compare LEDs, light-guide film, EL, dead-front graphics, diffusion, mask design, power limits, and lit and unlit approval.
Open resource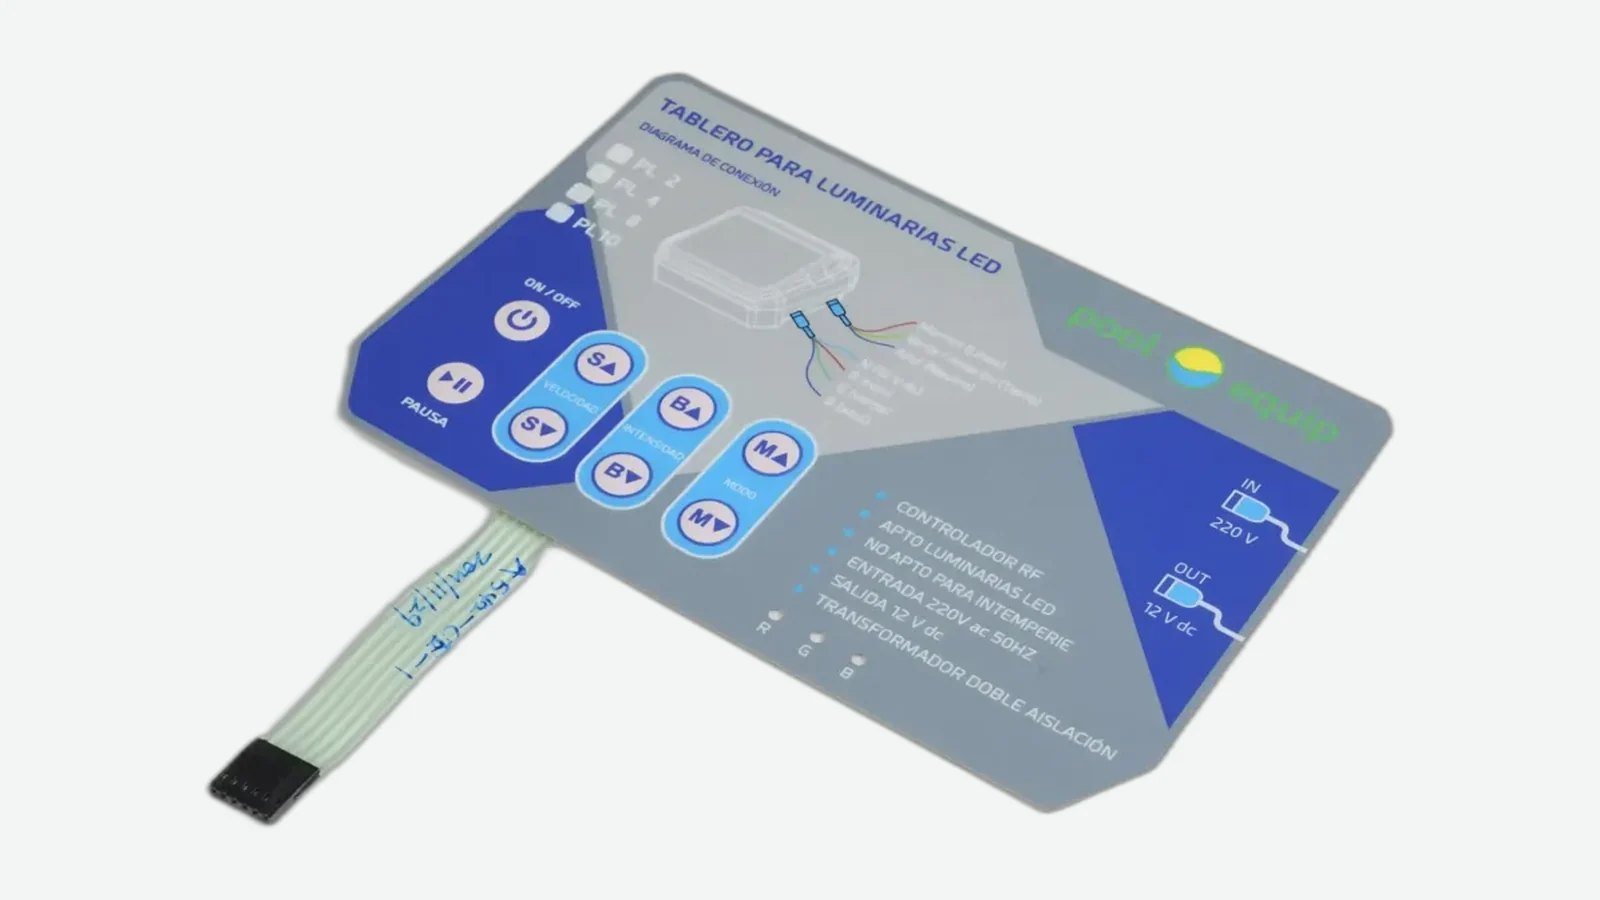
Treat sealing as an assembly question involving panel edges, adhesive, gasket pressure, tail exit, connector protection, and enclosure testing.
Open resourceUnderstand how tooling, films, domes, lighting, connectors, tolerances, samples, inspection, and production volume influence the quotation.
Open resourceUse these existing PDF sheets as working notes. They support project preparation but do not replace the latest drawing, specification, or project-specific approval record.
A compact list of drawing, material, circuit, connector, quantity, environment, sample, and test inputs.
Download PDFA structured prompt for front film, surface, adhesive, spacer, circuit, dome, window, and exposure decisions.
Download PDFCapture light function, symbol states, source, color, power, diffusion, housing, and visual approval conditions.
Download PDFReview the seal path, panel edge, adhesive width, gasket, tail exit, connector, enclosure, exposure, and validation plan.
Download PDFThe published cases are anonymous project-type examples. They show how materials, structure, manufacturing controls, sample questions, and buyer inputs change with the application.
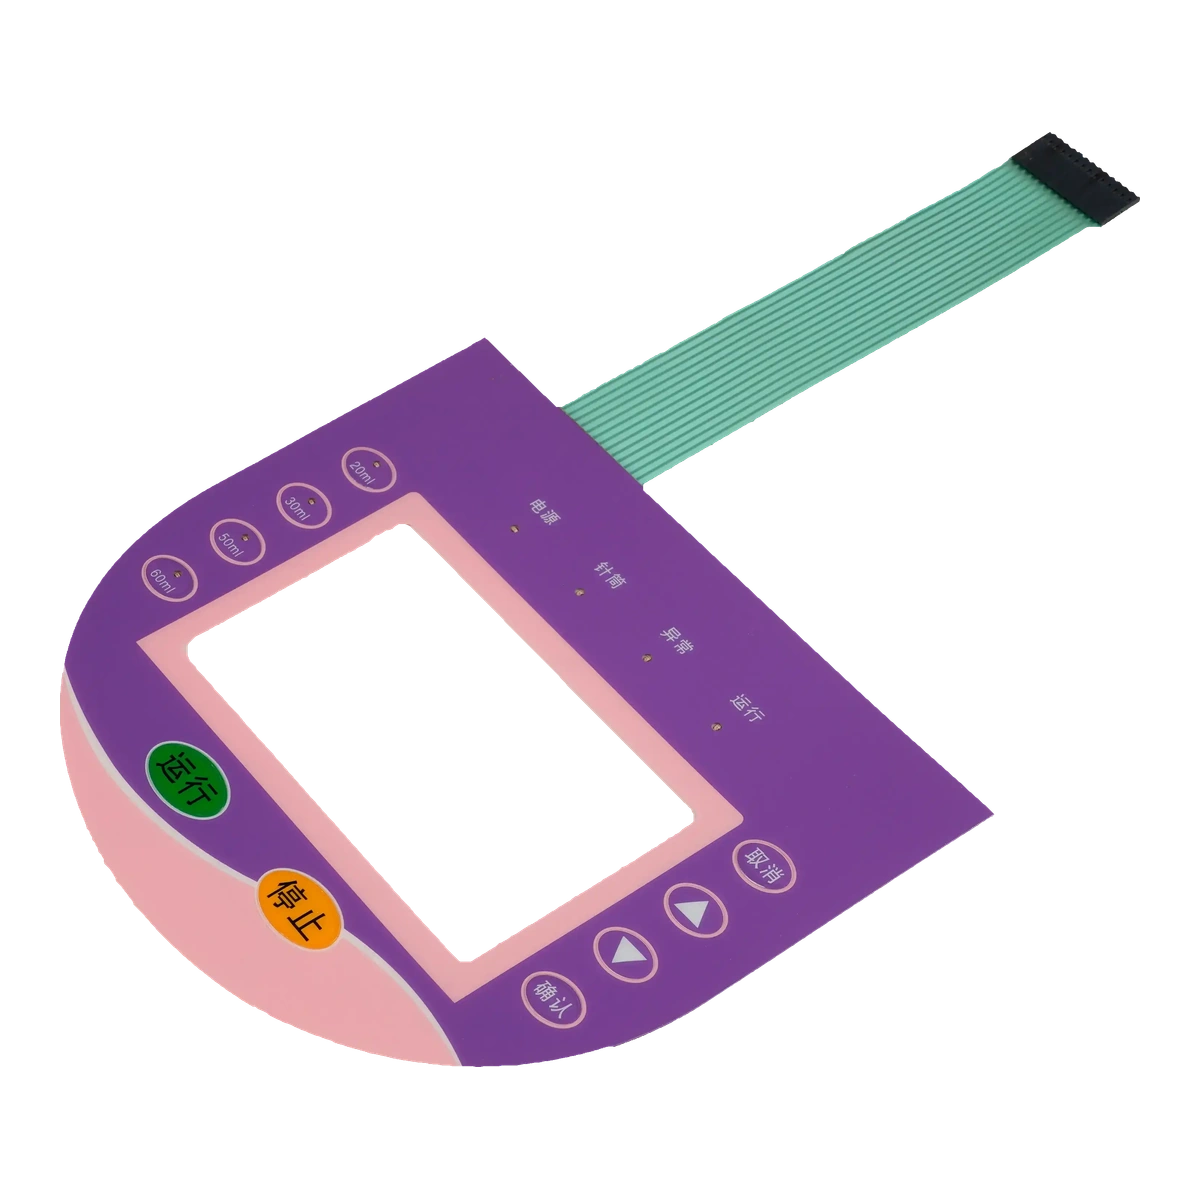
Connect cleaning exposure, smooth graphics, tactile response, adhesive, handling, and approval criteria.
Read the medical case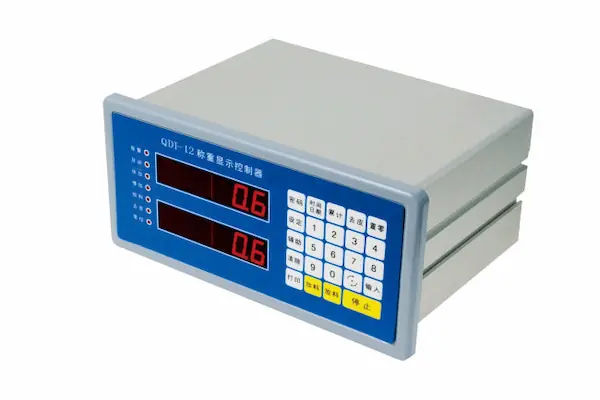
Review gloved use, key spacing, tactile force, legends, tail routing, connector, adhesive, and enclosure fit.
Read the industrial case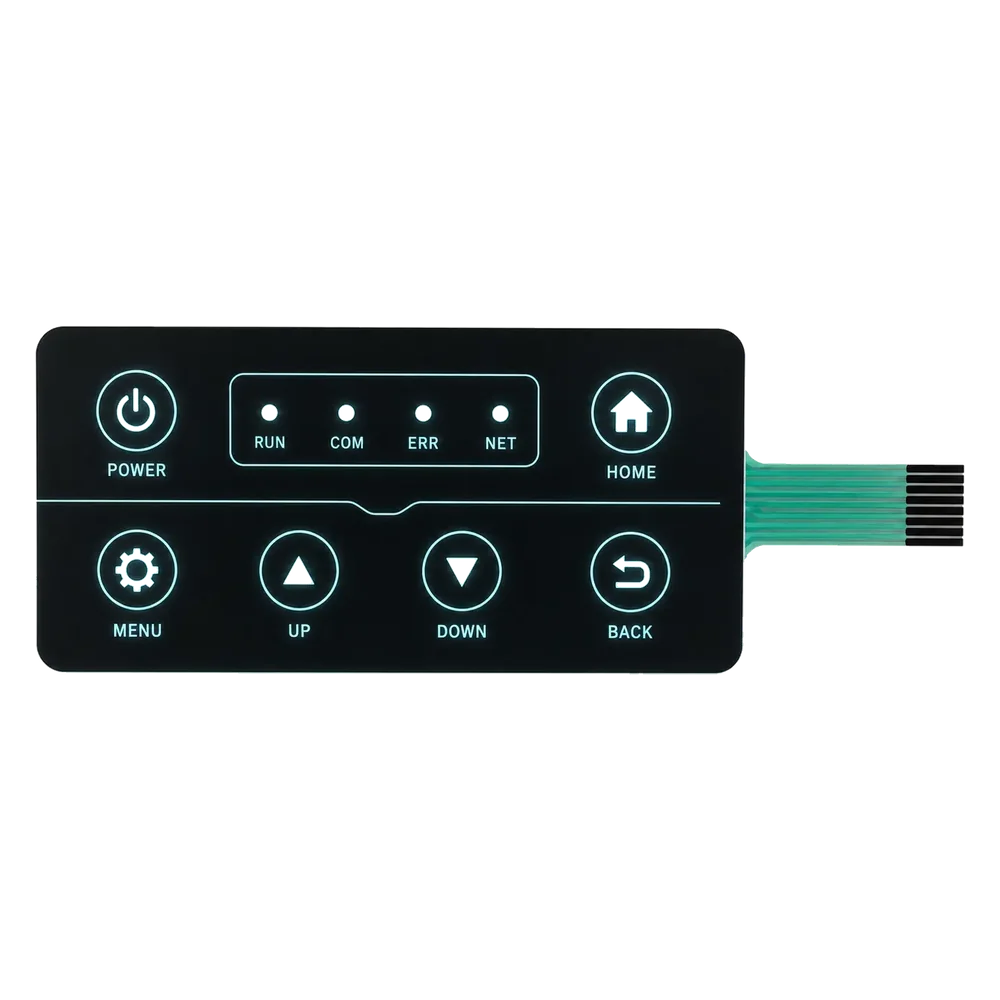
Link source position, masking, diffusion, circuitry, off-state appearance, installed viewing, and optical approval.
Read the backlit case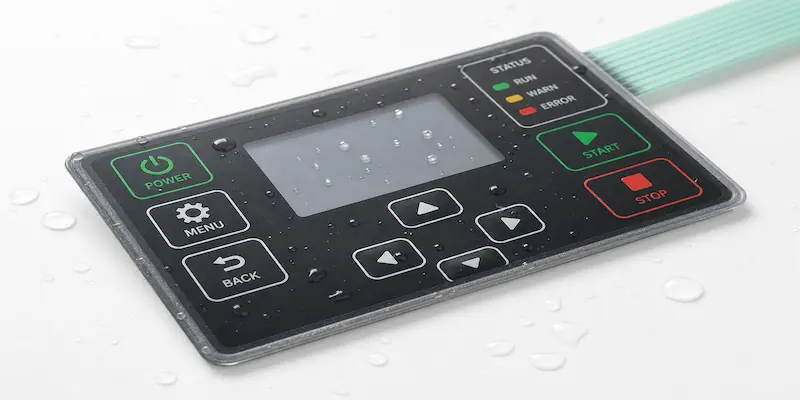
Treat moisture, UV, panel edges, adhesive, gasket, tail exit, connector, and enclosure as one sealing path.
Read the waterproof case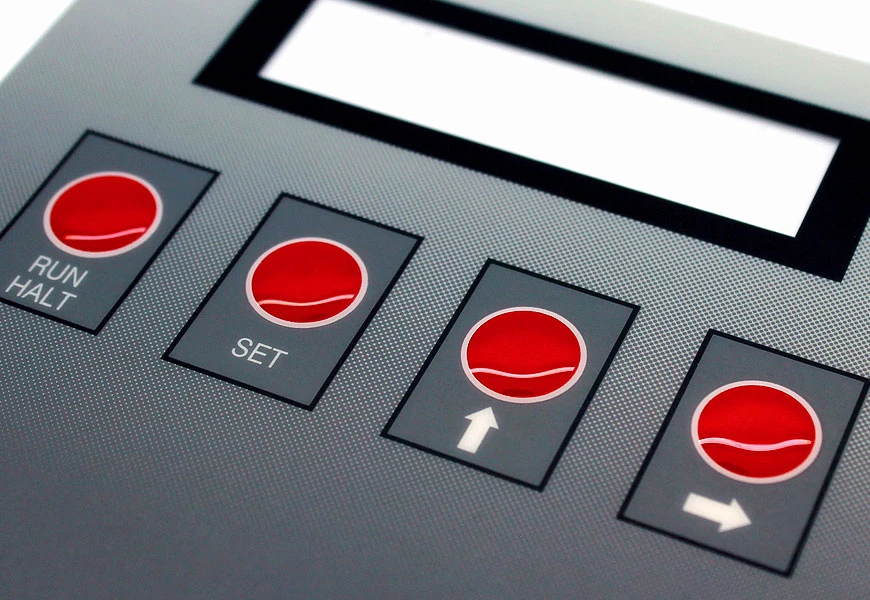
Review clarity, printed mask, registration, adhesive keep-out, surface, cleaning, handling, and visible defects.
Read the overlay case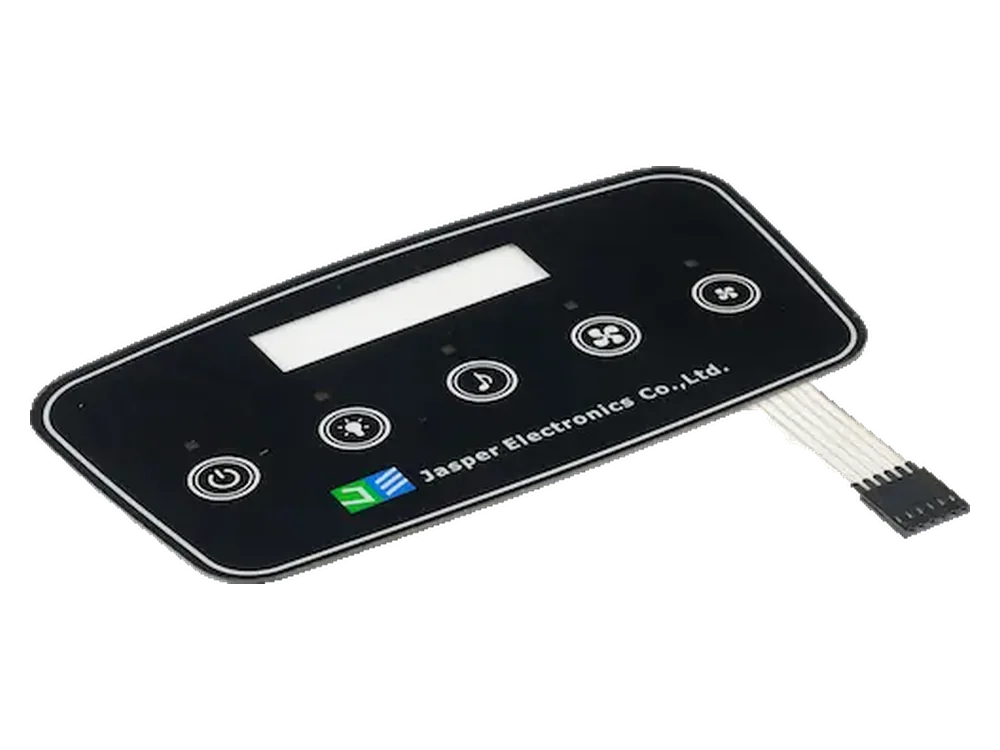
Connect the cover, print, electrode map, tail, controller boundary, display, ground, metal, and housing.
Read the capacitive caseThe same page should not answer every question. Move from broad construction choices to project-specific evidence as the design matures.
Define the operator, environment, control method, display, lighting, cleaning, and enclosure before choosing details.
02Connect front film, graphics, adhesive, spacer, tactile element, circuit, tail, connector, and housing surfaces.
03Check circuitry, pinout, bend path, LEDs, display windows, grounding, sealing, assembly clearance, and service access.
04Separate cosmetic, tactile, electrical, optical, dimensional, installed, and environmental acceptance questions.
05Send the current drawing, quantities, open decisions, target environment, connector data, and sample priorities.
Use these pages when the question moves from component design to the engineering, manufacturing, quality, or application support behind the proposed construction.
See how drawings, materials, circuits, connectors, lighting, sealing, housing, and sample approval are reviewed together.
Review engineering supportProduction routeFollow engineering review, printing, circuit production, lamination, inspection, testing, and packing through the factory flow.
Review manufacturingEvidence and controlConnect the drawing revision with incoming checks, in-process inspection, electrical testing, traceability, and approval records.
Review quality controlsUse environmentCompare medical, industrial, outdoor, appliance, instrumentation, access, kiosk, vending, marine, and automotive priorities.
Browse applicationsStart with the design guide and send the current sketch or drawing. Mark what is fixed and what is still open, especially the outline, key map, display or indicator areas, tail direction, connector, housing surface, use environment, and sample priorities.
Provide the latest drawing or dimensions, artwork or key layout, expected quantity for quotation context, material or appearance preferences, circuit and connector information, use environment, enclosure details, and the checks that matter during sample approval.
No. The checklists help expose missing inputs. The controlled drawing, artwork, bill of materials, agreed test method, approved sample, and revision records remain project-specific.
No. They are anonymous project-type examples. They do not identify a customer or claim a certification, measured result, delivery time, order volume, or performance outcome without supporting records.
Yes. A preliminary drawing can support an early engineering discussion when the open decisions are clearly marked. Quotation and sample planning become more precise as the construction, connector, environment, and acceptance criteria are confirmed.
Send the latest drawing or sketch, artwork, enclosure context, connector or electronics details, operating environment, quantity for quotation context, and sample approval priorities. JASPER can help organize the open interface decisions before tooling or production planning.
Share the project basics. JASPER will review the stack, materials, connector, quantity, and production risks.