
Acrylic panel
Best starting point
Rigid lightweight faceplate, window, diffuser, or shaped cover lens
Review before release
Confirm scratch exposure, support, edge finish, and cleaner compatibility
Rigid acrylic front panels, faceplates, cover lenses, and nameplates built from your artwork and enclosure drawing. JASPER coordinates the PMMA grade, printing, windows, edge geometry, finish, mounting, and first-article approval before production.
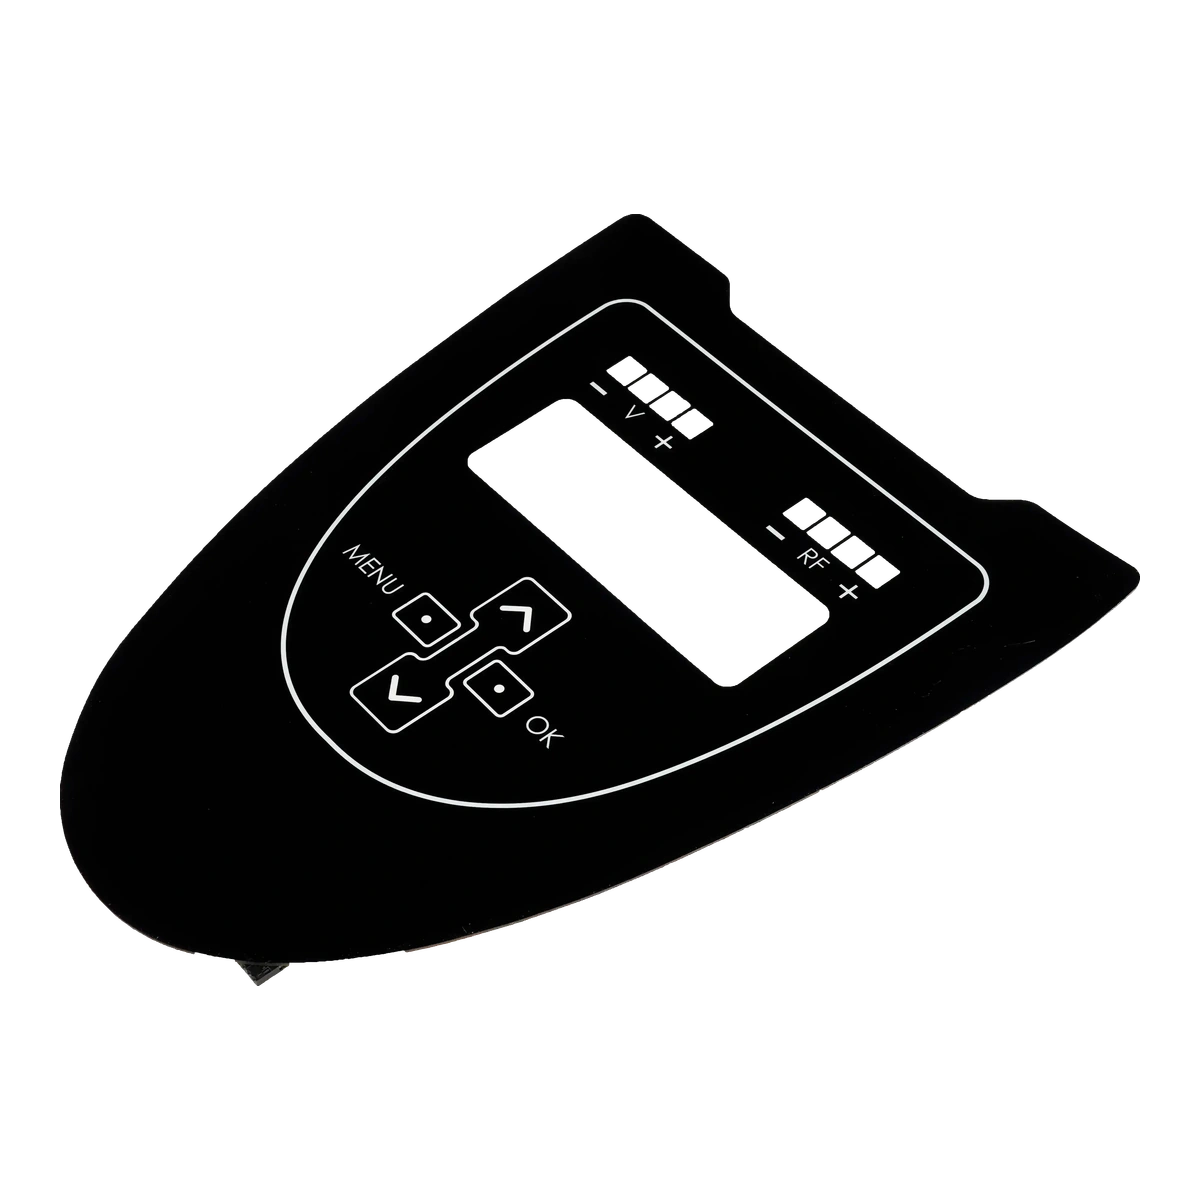
A custom acrylic panel starts as a PMMA sheet and becomes a finished OEM component through printing, machining, edge work, surface treatment, and mounting preparation. One part can carry branding, legends, a clear or tinted display window, dead-front icons, touch-zone graphics, and the finished product outline.
The rigid substrate is the defining difference. A flexible film overlay follows the panel beneath it; an acrylic faceplate creates its own flat, hard front surface. That makes PMMA useful for display cover lenses, lightweight control fascias, instrument windows, appliance fronts, and shaped nameplates.
The useful drawing review is not limited to artwork. It must connect the visual file to the enclosure depth, display, lighting, edge support, cleaning method, mounting surface, and assembly sequence.
These seven decisions belong on the same drawing package. A material name alone does not define the finished panel.
| Decision | Options to Review | Release Question |
|---|---|---|
| PMMA construction | Cast or extruded acrylic; clear, tinted, colored, or diffusing grades | Which grade fits the optical, machining, cosmetic, and volume requirements? |
| Thickness and support | Thin cover lens through thicker self-supporting faceplate | How is the panel supported, recessed, and protected from bending or impact? |
| Printing | Rear-surface screen print, UV print, opaque masks, transparent colors, dead-front layers | Which graphics, colors, and transmission states must be approved on the real assembly? |
| Windows and lighting | Clear, smoked, tinted, diffused, anti-glare, display, LED, and hidden-icon zones | What sits behind each window and how should it look powered and unpowered? |
| Cut and edge geometry | CNC or laser profile, holes, slots, corner radii, bevels, and local edge finishing | Which dimensions affect the enclosure, display, fasteners, or visible fit line? |
| Surface protection | Gloss, matte, anti-glare direction, protective film, and project-specific hard coat | What touches or cleans the operator face during the product life? |
| Mounting | Full or selective adhesive, mechanical holes, bezel capture, or combined mounting | What is the enclosure material, flatness, texture, edge land, and installation process? |
A dark front can hide icons and apertures while the equipment is idle, then reveal only the active information. The window stack must work with the actual display, LED, touch sensor, and ambient light.
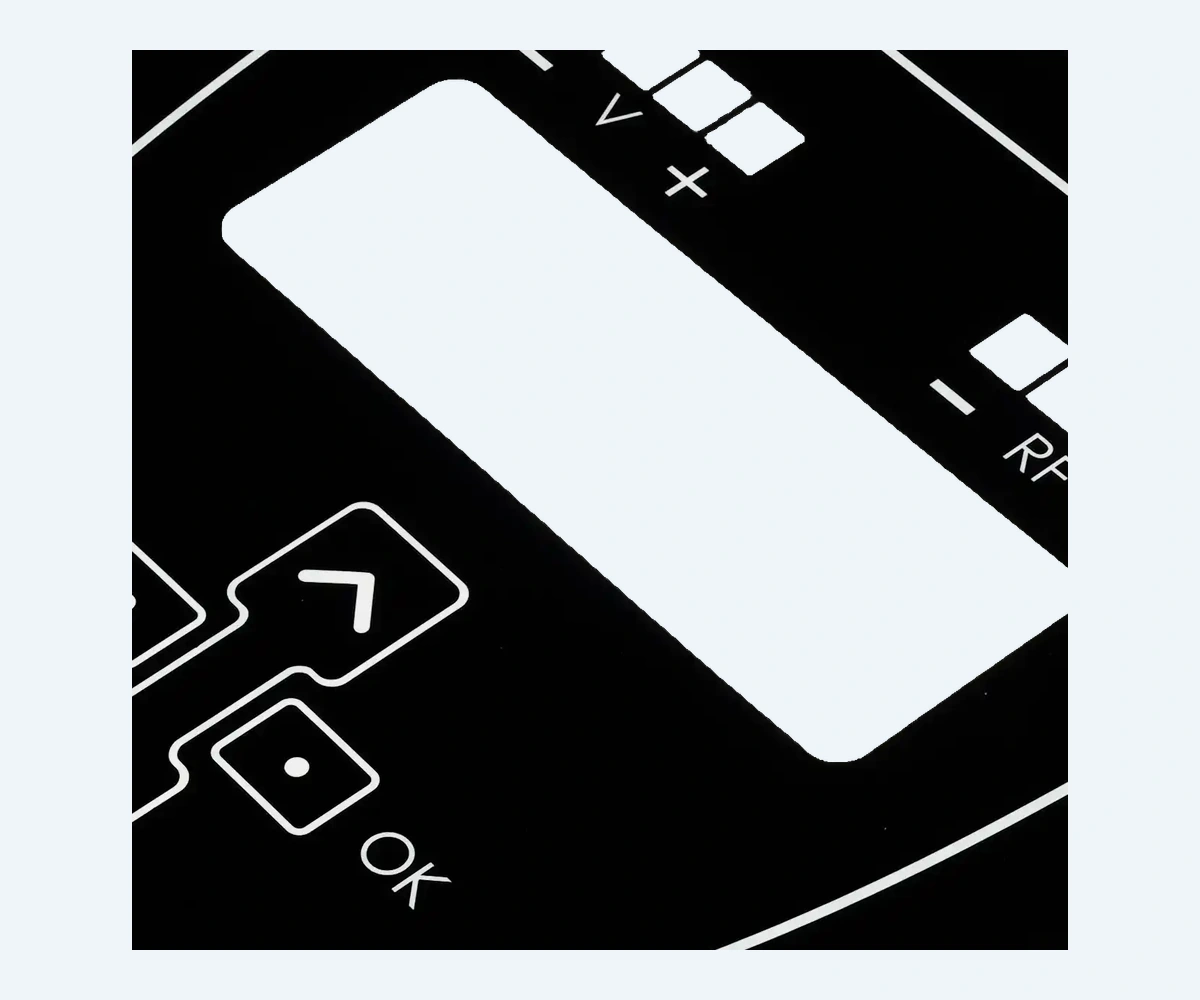
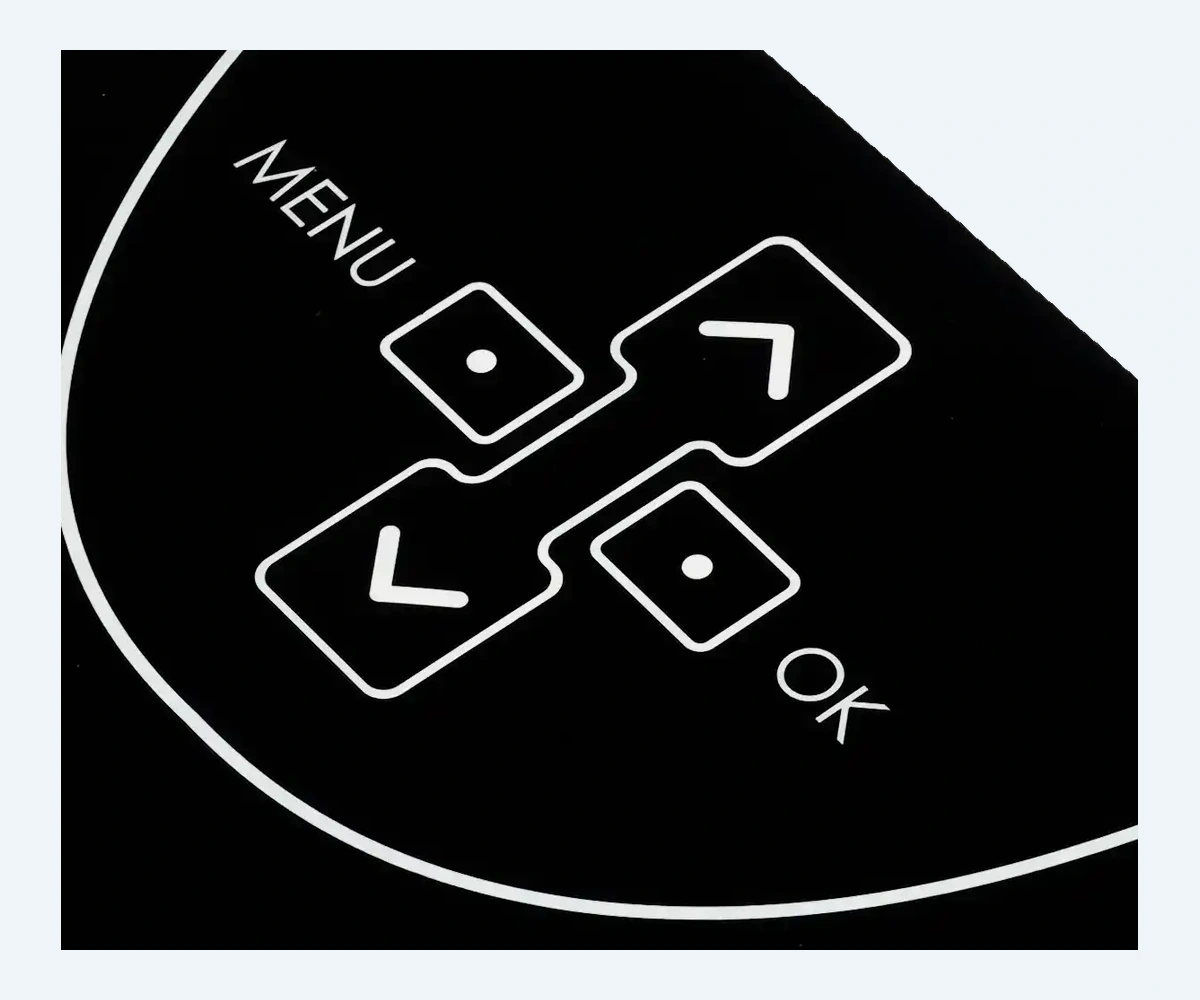
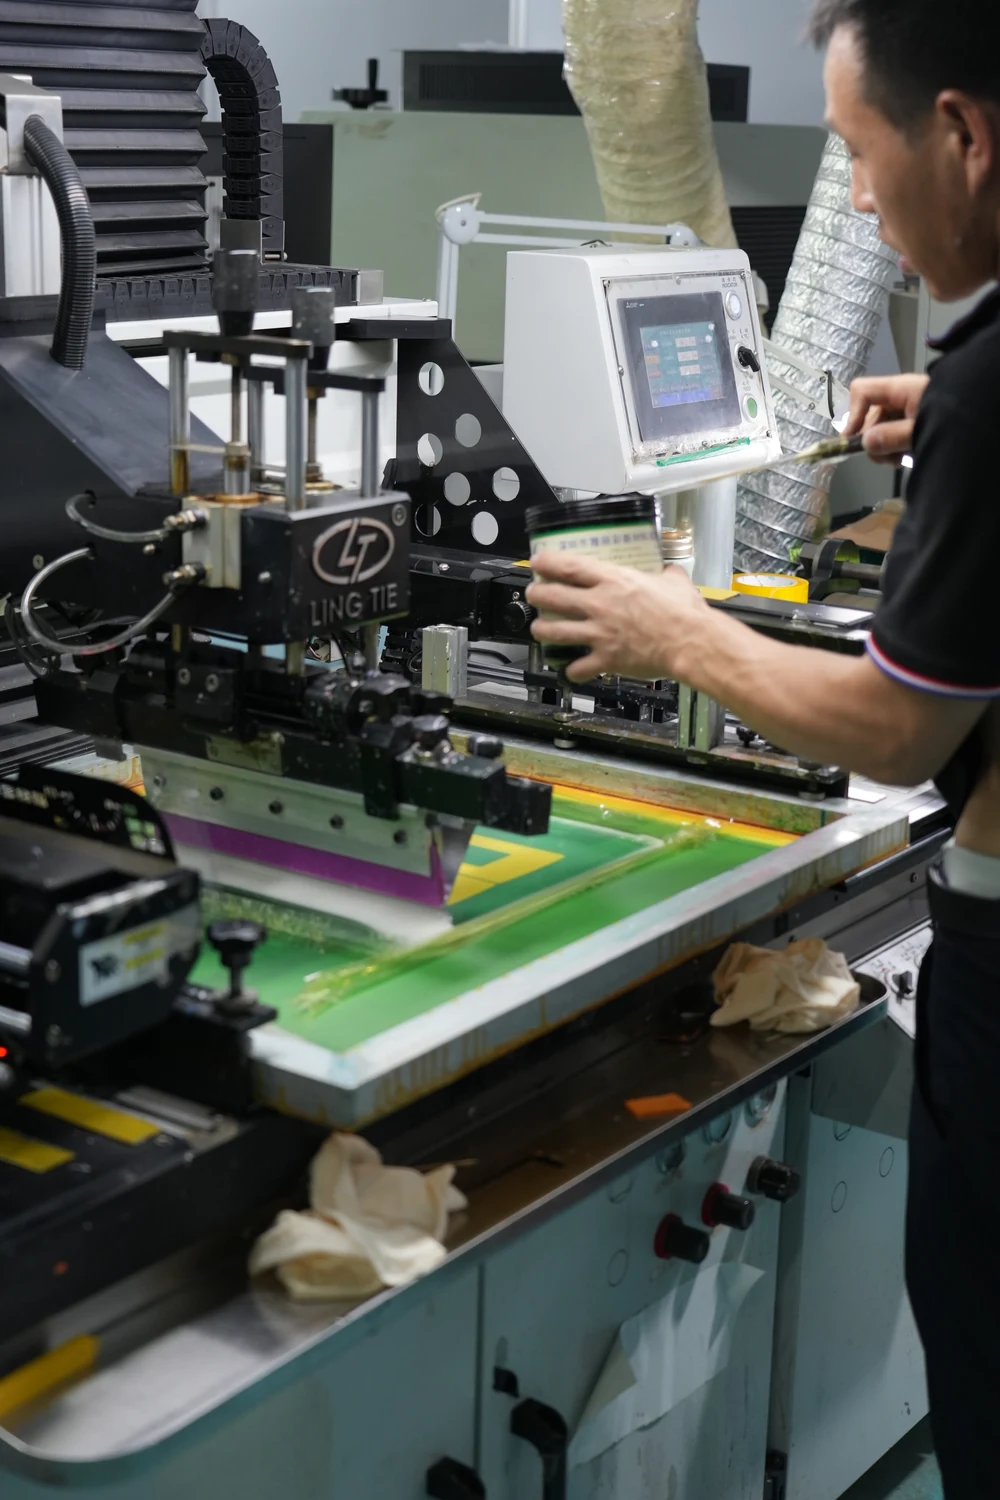
Second-surface printing places the ink behind the acrylic, protecting legends and color from direct touch. The exposed PMMA face still has to survive the real handling, cleaner, abrasion, glare, and cosmetic acceptance conditions.
Define spot colors, opaque backgrounds, transparent zones, registration, and the viewing side.
Choose gloss, matte, glare control, protective film, or a validated hard-coat direction.
Inspect laser or machined edges, burrs, chips, corner radii, windows, and hardware clearances.
Test the selected acrylic, ink, coating, and cleaner as one production-intent construction.
The same artwork can be printed on several materials. Stiffness, scratch exposure, optical behavior, mounting, and service environment decide which construction belongs on the drawing.
Rigid lightweight faceplate, window, diffuser, or shaped cover lens
Confirm scratch exposure, support, edge finish, and cleaner compatibility
Premium hard front surface and high scratch exposure
Confirm edge treatment, impact risk, mounting, and display stack
Flexible low-profile printed face or membrane-switch top layer
Confirm flexing, embossing, film finish, and adhesive
Permanent identification under heat, abrasion, or solvents
Confirm alloy, marking, fasteners, grounding, and corrosion exposure
Align the artwork, CAD outline, windows, enclosure, lighting, mounting, and quantity.
Confirm that acrylic is the right front surface before selecting grade, thickness, and finish.
Lock the visual proof, print layers, cut geometry, edge notes, and inspection points.
Install the panel on the real product and approve fit, windows, lighting, bond, and appearance.
Release the approved revision, protective packaging, inspection method, and change path.
A correct color proof can still fail if windows shift, edge geometry conflicts with the housing, the protective face is marked, or the adhesive does not match the panel. Define visible and dimensional acceptance before production.
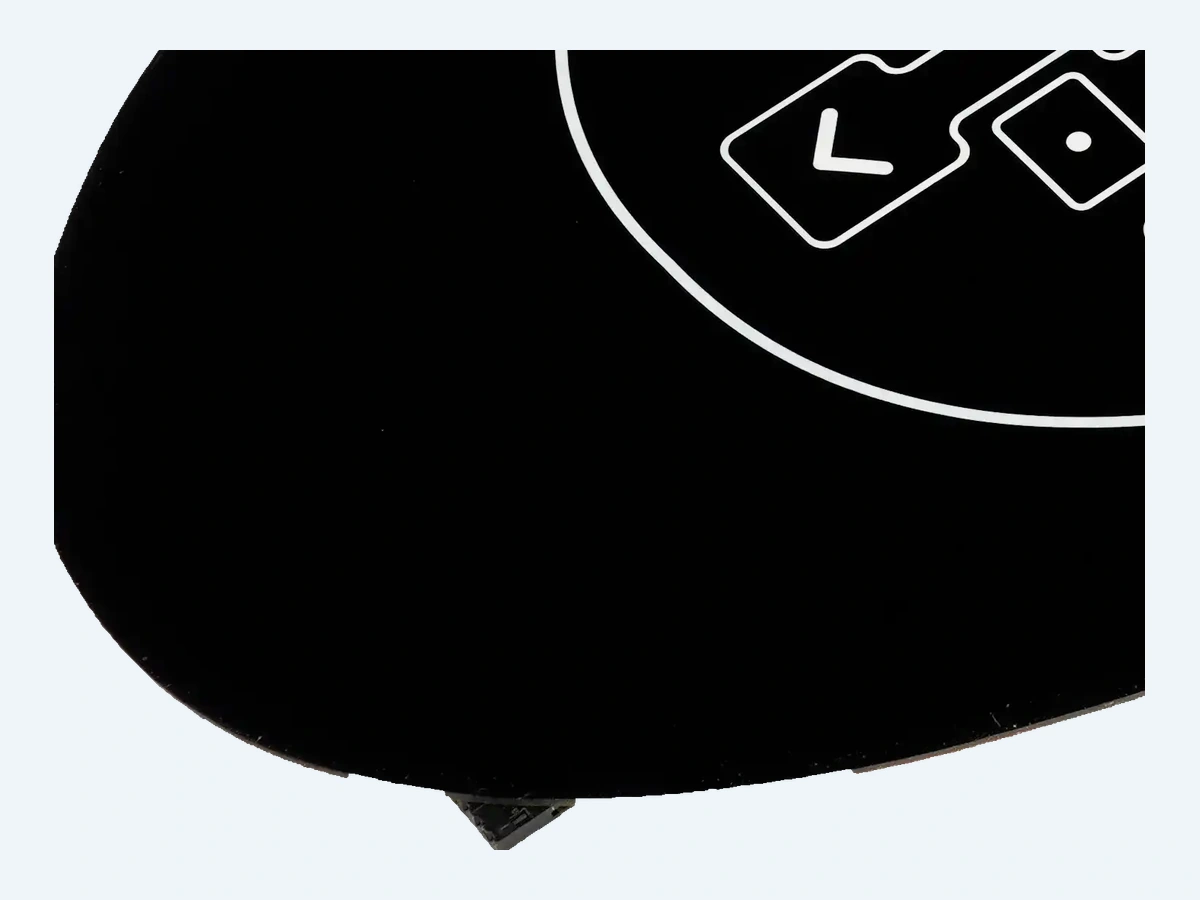
The product name matters less than the front-surface job. These applications commonly need a rigid printed or optical panel.
Display windows, legends, model identity, and a rigid wipeable operator face.
Clear windows, controlled markings, cleaning review, and compact enclosure fit.
Dead-front icons, touch graphics, brand treatment, and repeatable assembly.
Dense legends, smoked windows, indicators, hardware openings, and revision control.
Display protection, public-use instructions, touch zones, and cosmetic durability.
Hidden indicators, illuminated logos, sensors, and shaped lightweight faceplates.
Early files are welcome. A dimensioned PDF plus vector artwork is enough to start the material and manufacturing review.
An acrylic panel is a rigid PMMA front part that can act as a faceplate, cover lens, display window, or nameplate. A graphic overlay is a flexible printed PET or polycarbonate film that follows the mounting surface or becomes the top layer of a membrane switch.
Yes. Clear, tinted, diffusing, and dead-front areas can share one panel, but ink opacity, window transmission, display brightness, light leakage, viewing angle, and the unpowered appearance should be approved together.
Acrylic is useful when the project values a lightweight rigid panel, shaped cutouts, machining flexibility, or integrated diffusion. Glass is often preferred when high scratch resistance, premium feel, or a specific optical stack dominates. The enclosure and exposure should decide the route.
Graphics are often printed on the rear surface so the operator touches the acrylic rather than the ink. A front-surface hard coat can address handling and cleaning exposure. The selected acrylic, ink, coating, and cleaner still need project-level validation.
Send vector artwork, a dimensioned outline or CAD file, panel thickness direction, windows and cutouts, edge details, mounting surface, adhesive or hardware concept, lighting or display notes, environment, quantity, and first-article acceptance requirements.

Compare all flexible, rigid, label, domed, and metal front-surface routes.
Review Product
Review where a harder glass front better fits scratch exposure and premium display needs.
Review Product
Compare rigid PMMA with flexible PET or polycarbonate printed overlays.
Review ProductJASPER can compare acrylic, glass, flexible film, and metal while the panel, window, and mounting details can still change.
Share the project basics. JASPER will review the stack, materials, connector, quantity, and production risks.