
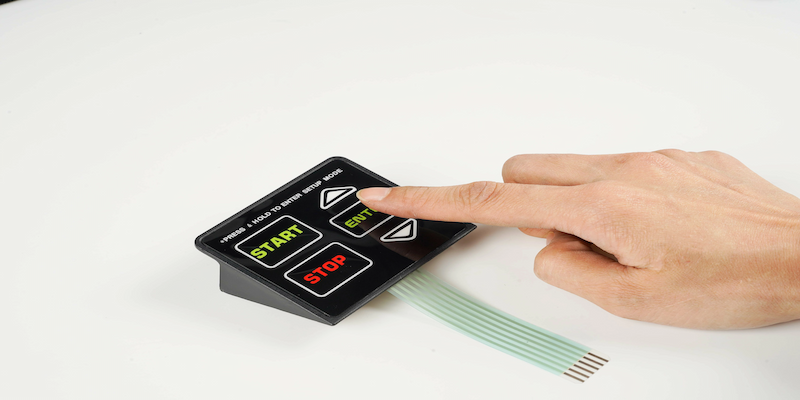
Tactile vs Non-Tactile Key Feedback
Compare operator feedback, dome construction, force, travel, and sample checks.
Read GuideCustom membrane keypads combine a printed key layout, tactile or non-tactile feedback, matrix circuitry, a flexible tail, and enclosure-ready adhesive in one sealed OEM control surface.
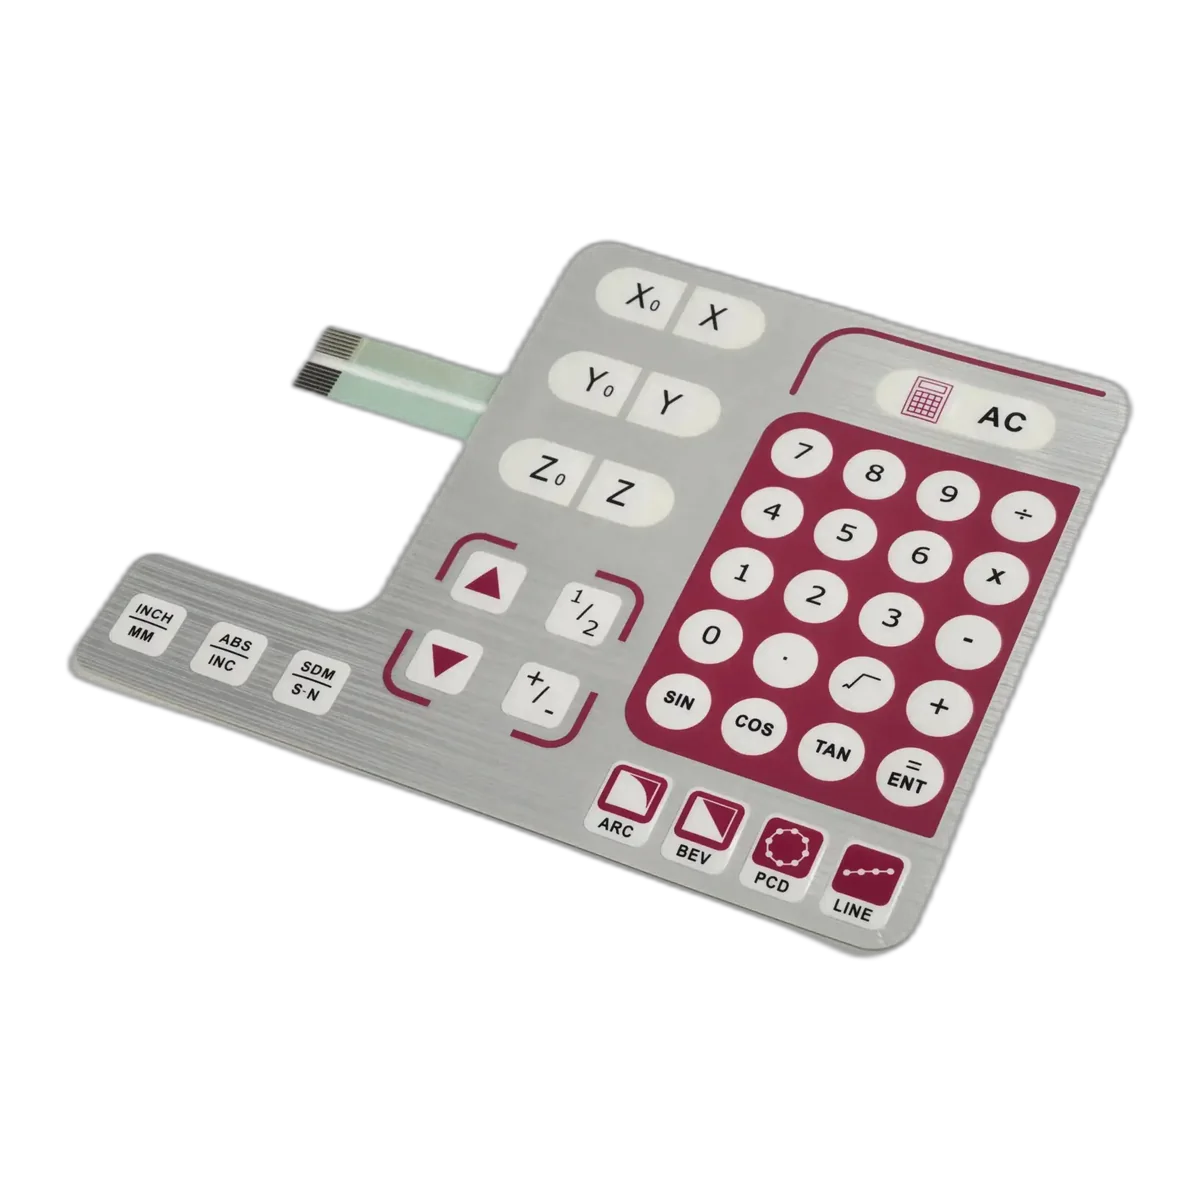
Key Layout + Enclosure Fit Review
key map | force target | tail and connector | sample validation
A custom membrane keypad is a multi-key membrane switch designed around an operator's repeated actions. The overlay, embossing, dome or contact structure, spacer, printed circuit, tail, connector, and rear adhesive are built to the OEM key map and enclosure.
The keypad format puts extra weight on key pitch, finger location, legend readability, and consistent force from one key to the next. Compared with a molded silicone keypad, it keeps the front panel thin and lets the printed overlay carry detailed legends, windows, and brand graphics.
A keypad sample should be judged inside the real housing. Key feel changes when the support surface, adhesive pressure, display opening, and tail bend are different from the bench setup.
These options are a practical starting point for an OEM drawing review. Final geometry, force targets, materials, and tests are confirmed against the enclosure and approved sample.
| Feature | Available Construction | Design Review Focus |
|---|---|---|
| Key Layout | Custom key count, shape, pitch, and grouping | Finger reach, glove use, error prevention, display clearance |
| Key Feedback | Tactile metal dome or non-tactile contact | Force range, snap ratio, travel, high-use keys |
| Embossing | Flat, pillow, rim, or dome embossing | Key location, overlay strain, radius, artwork registration |
| Circuit | Printed silver, carbon, PCB, or FPC matrix | Pinout, resistance, test access, trace routing |
| Legends and Windows | Screen-printed legends, dead front, clear windows | Font size, flex zones, light leakage, viewing area |
| Backlighting | Discrete LEDs, light guide, or backlit icons | Brightness balance, polarity, hot spots, power |
| Tail and Connector | ZIF, crimp, header, solder tab, or custom | Exit direction, bend radius, insertion access |
| Sealing | Perimeter adhesive, gasket features, tail sealing | Adhesive land, housing flatness, venting, cleaning |
| Production Testing | Continuity, actuation, visual, and functional checks | Key map, force consistency, connector and enclosure fit |
Production Tip: mark high-use, safety-related, and gloved-operation keys on the drawing so they receive deliberate force and spacing review.
Send the key map, housing or front-panel drawing, display locations, tail direction, connector, operating environment, and expected quantity. We will review conflicts before sample tooling.
Send Keypad Drawing
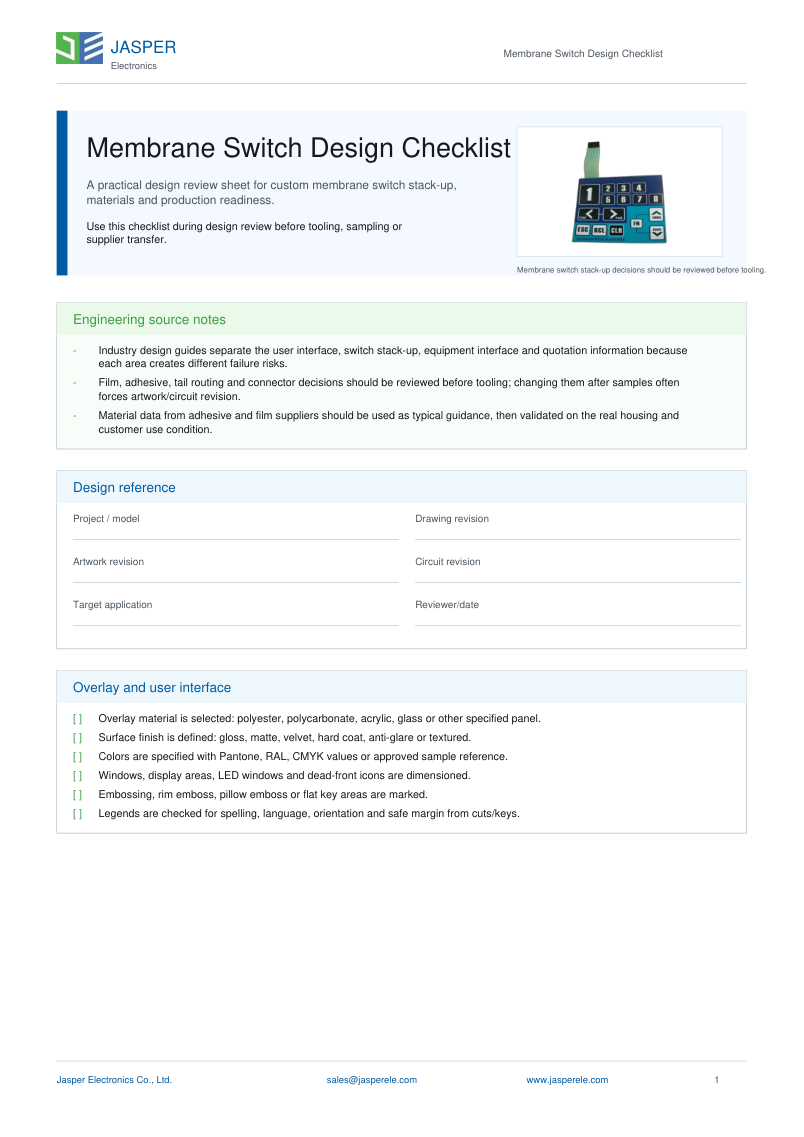
Use the checklist to review key spacing, embossing, tactile force, spacer relief, matrix routing, legends, windows, adhesive, tail, and connector details before RFQ.
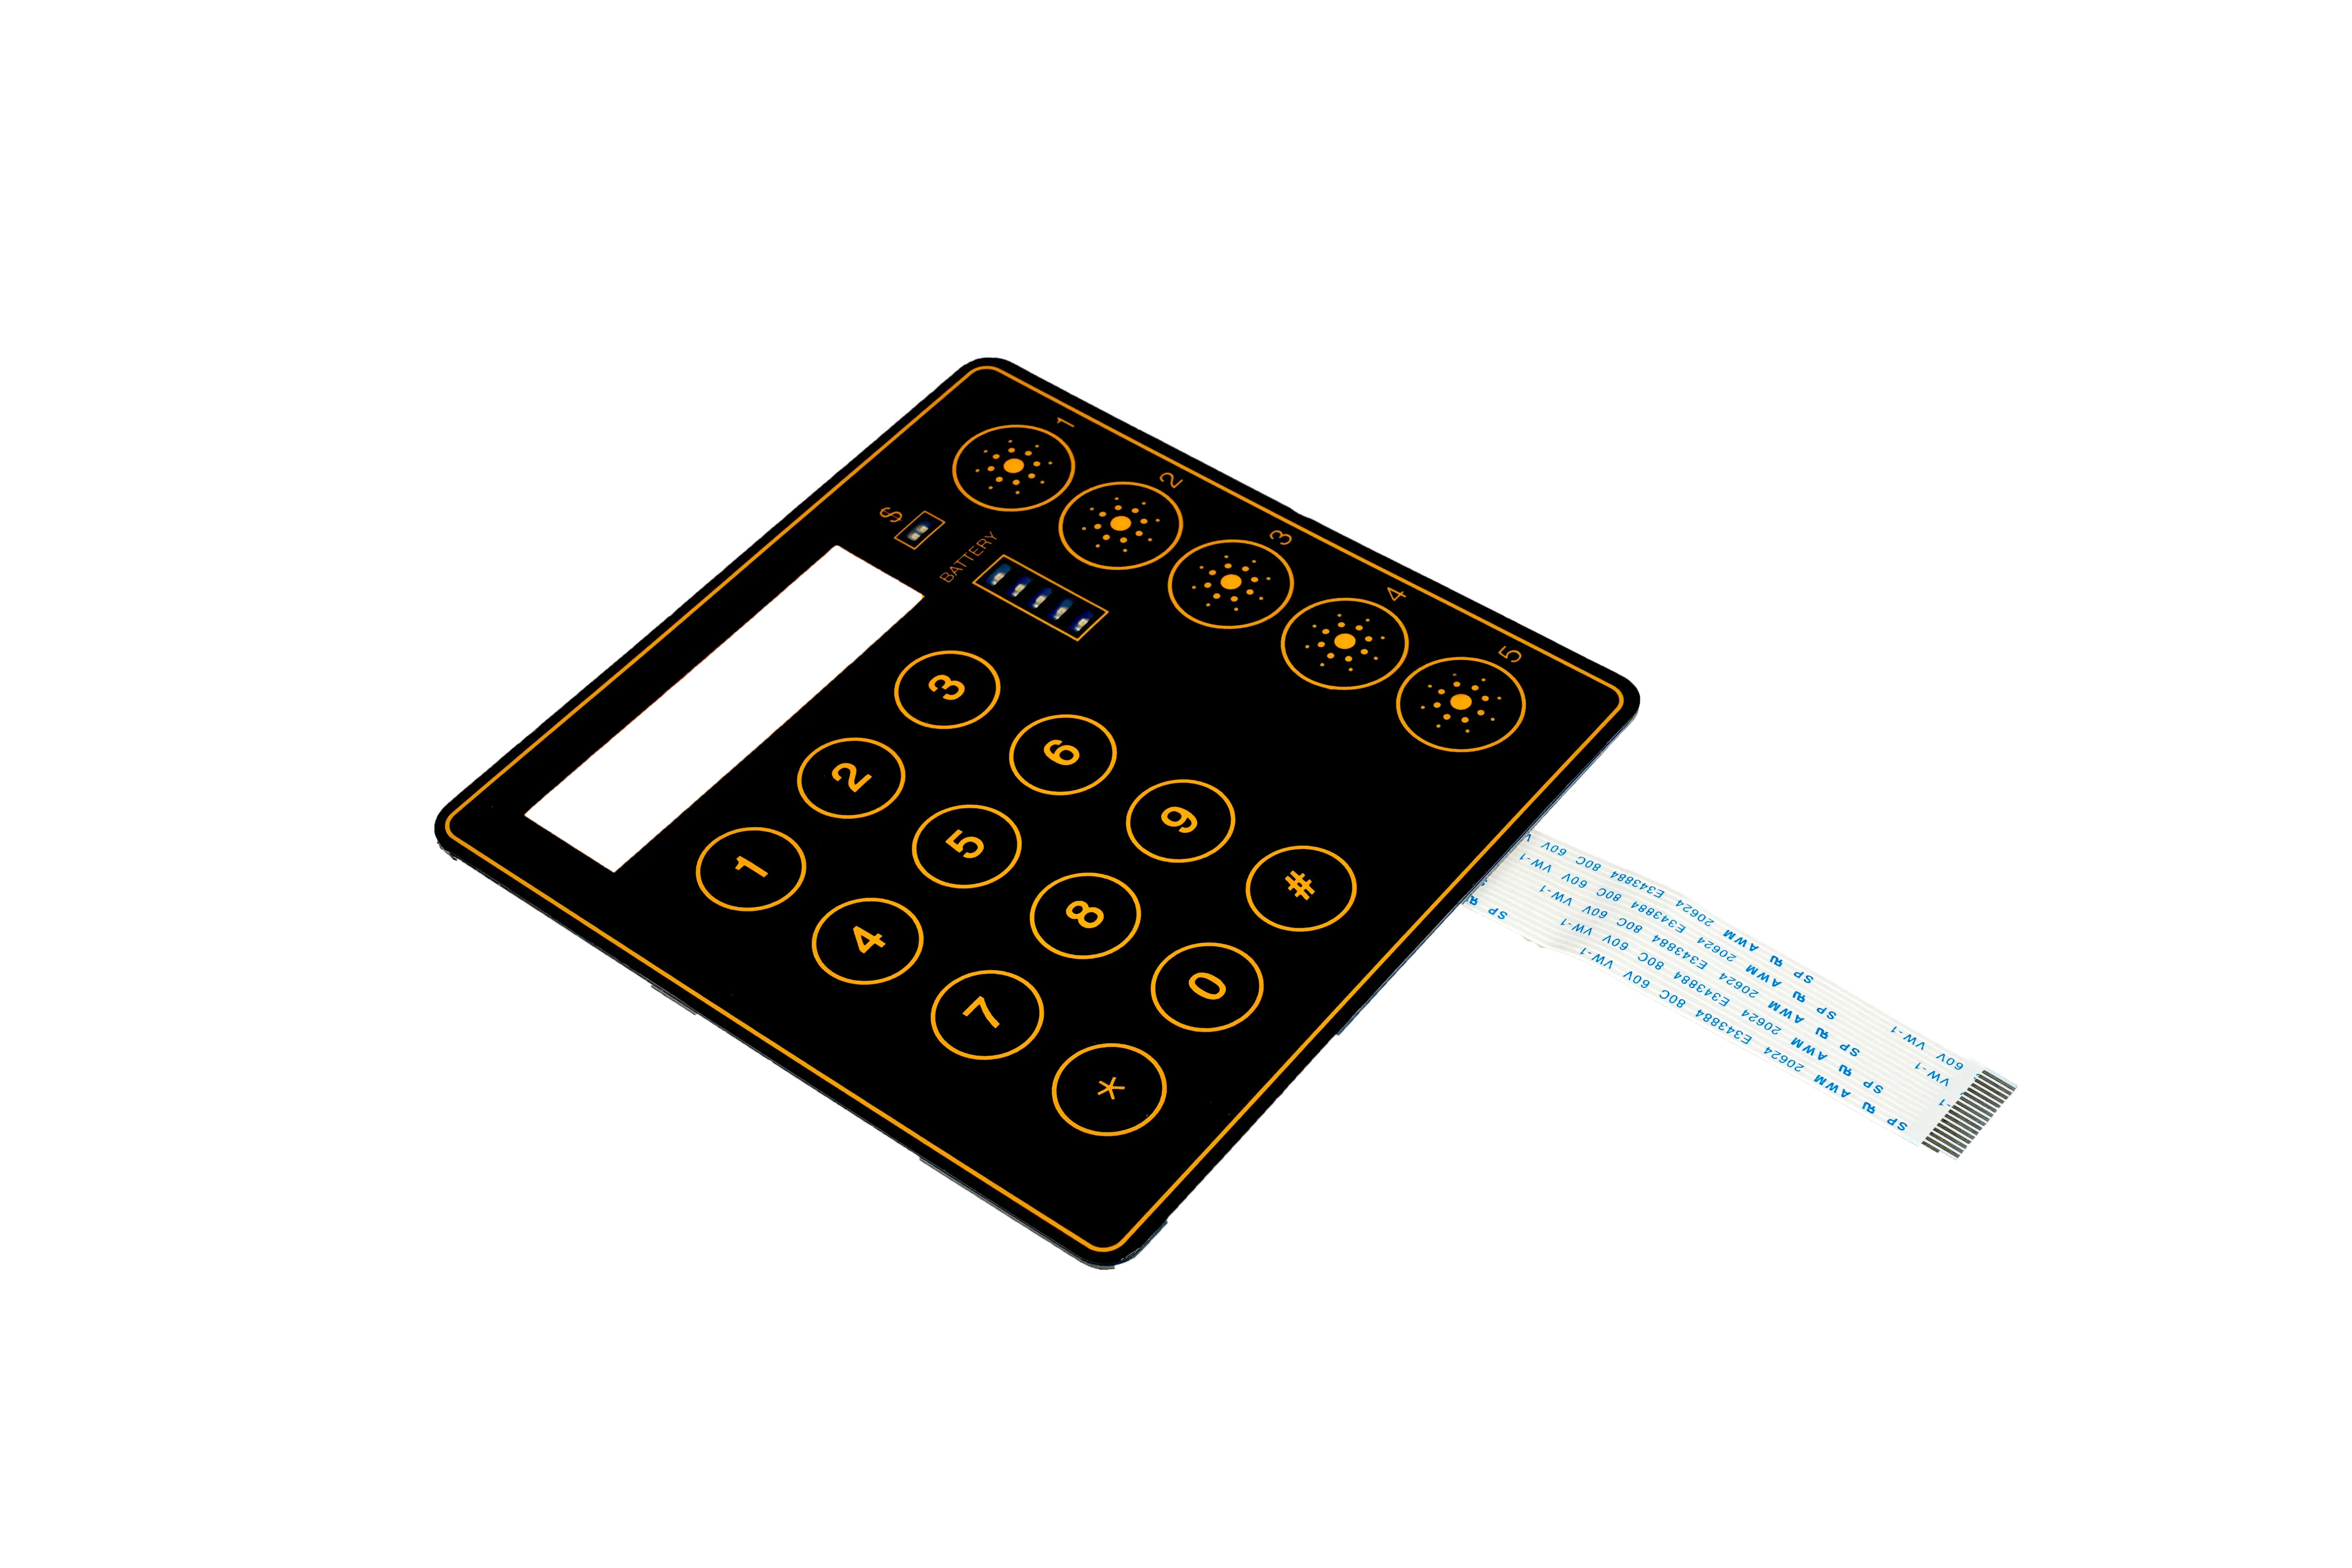
The keypad stack should be selected as one system. Overlay stiffness, dome height, spacer relief, circuit resistance, adhesive, and enclosure support all influence key feel and production yield.
Choose the key surface around operator location, cleaning, glare, legend life, and the amount of tactile guidance needed without overstressing the overlay.
| Flat Keys | Lowest-profile face with location defined by print and layout |
|---|---|
| Pillow Embossing | Raised key area that helps the finger find the control |
| Rim Embossing | Raised perimeter with a flatter center for legends or windows |
| Dome Embossing | Formed key shape used with carefully reviewed radii and travel |
| Selective Gloss | Gloss keys or windows within a matte or textured panel |
| Dead Front and Backlit | Hidden legends or icons revealed by controlled illumination |
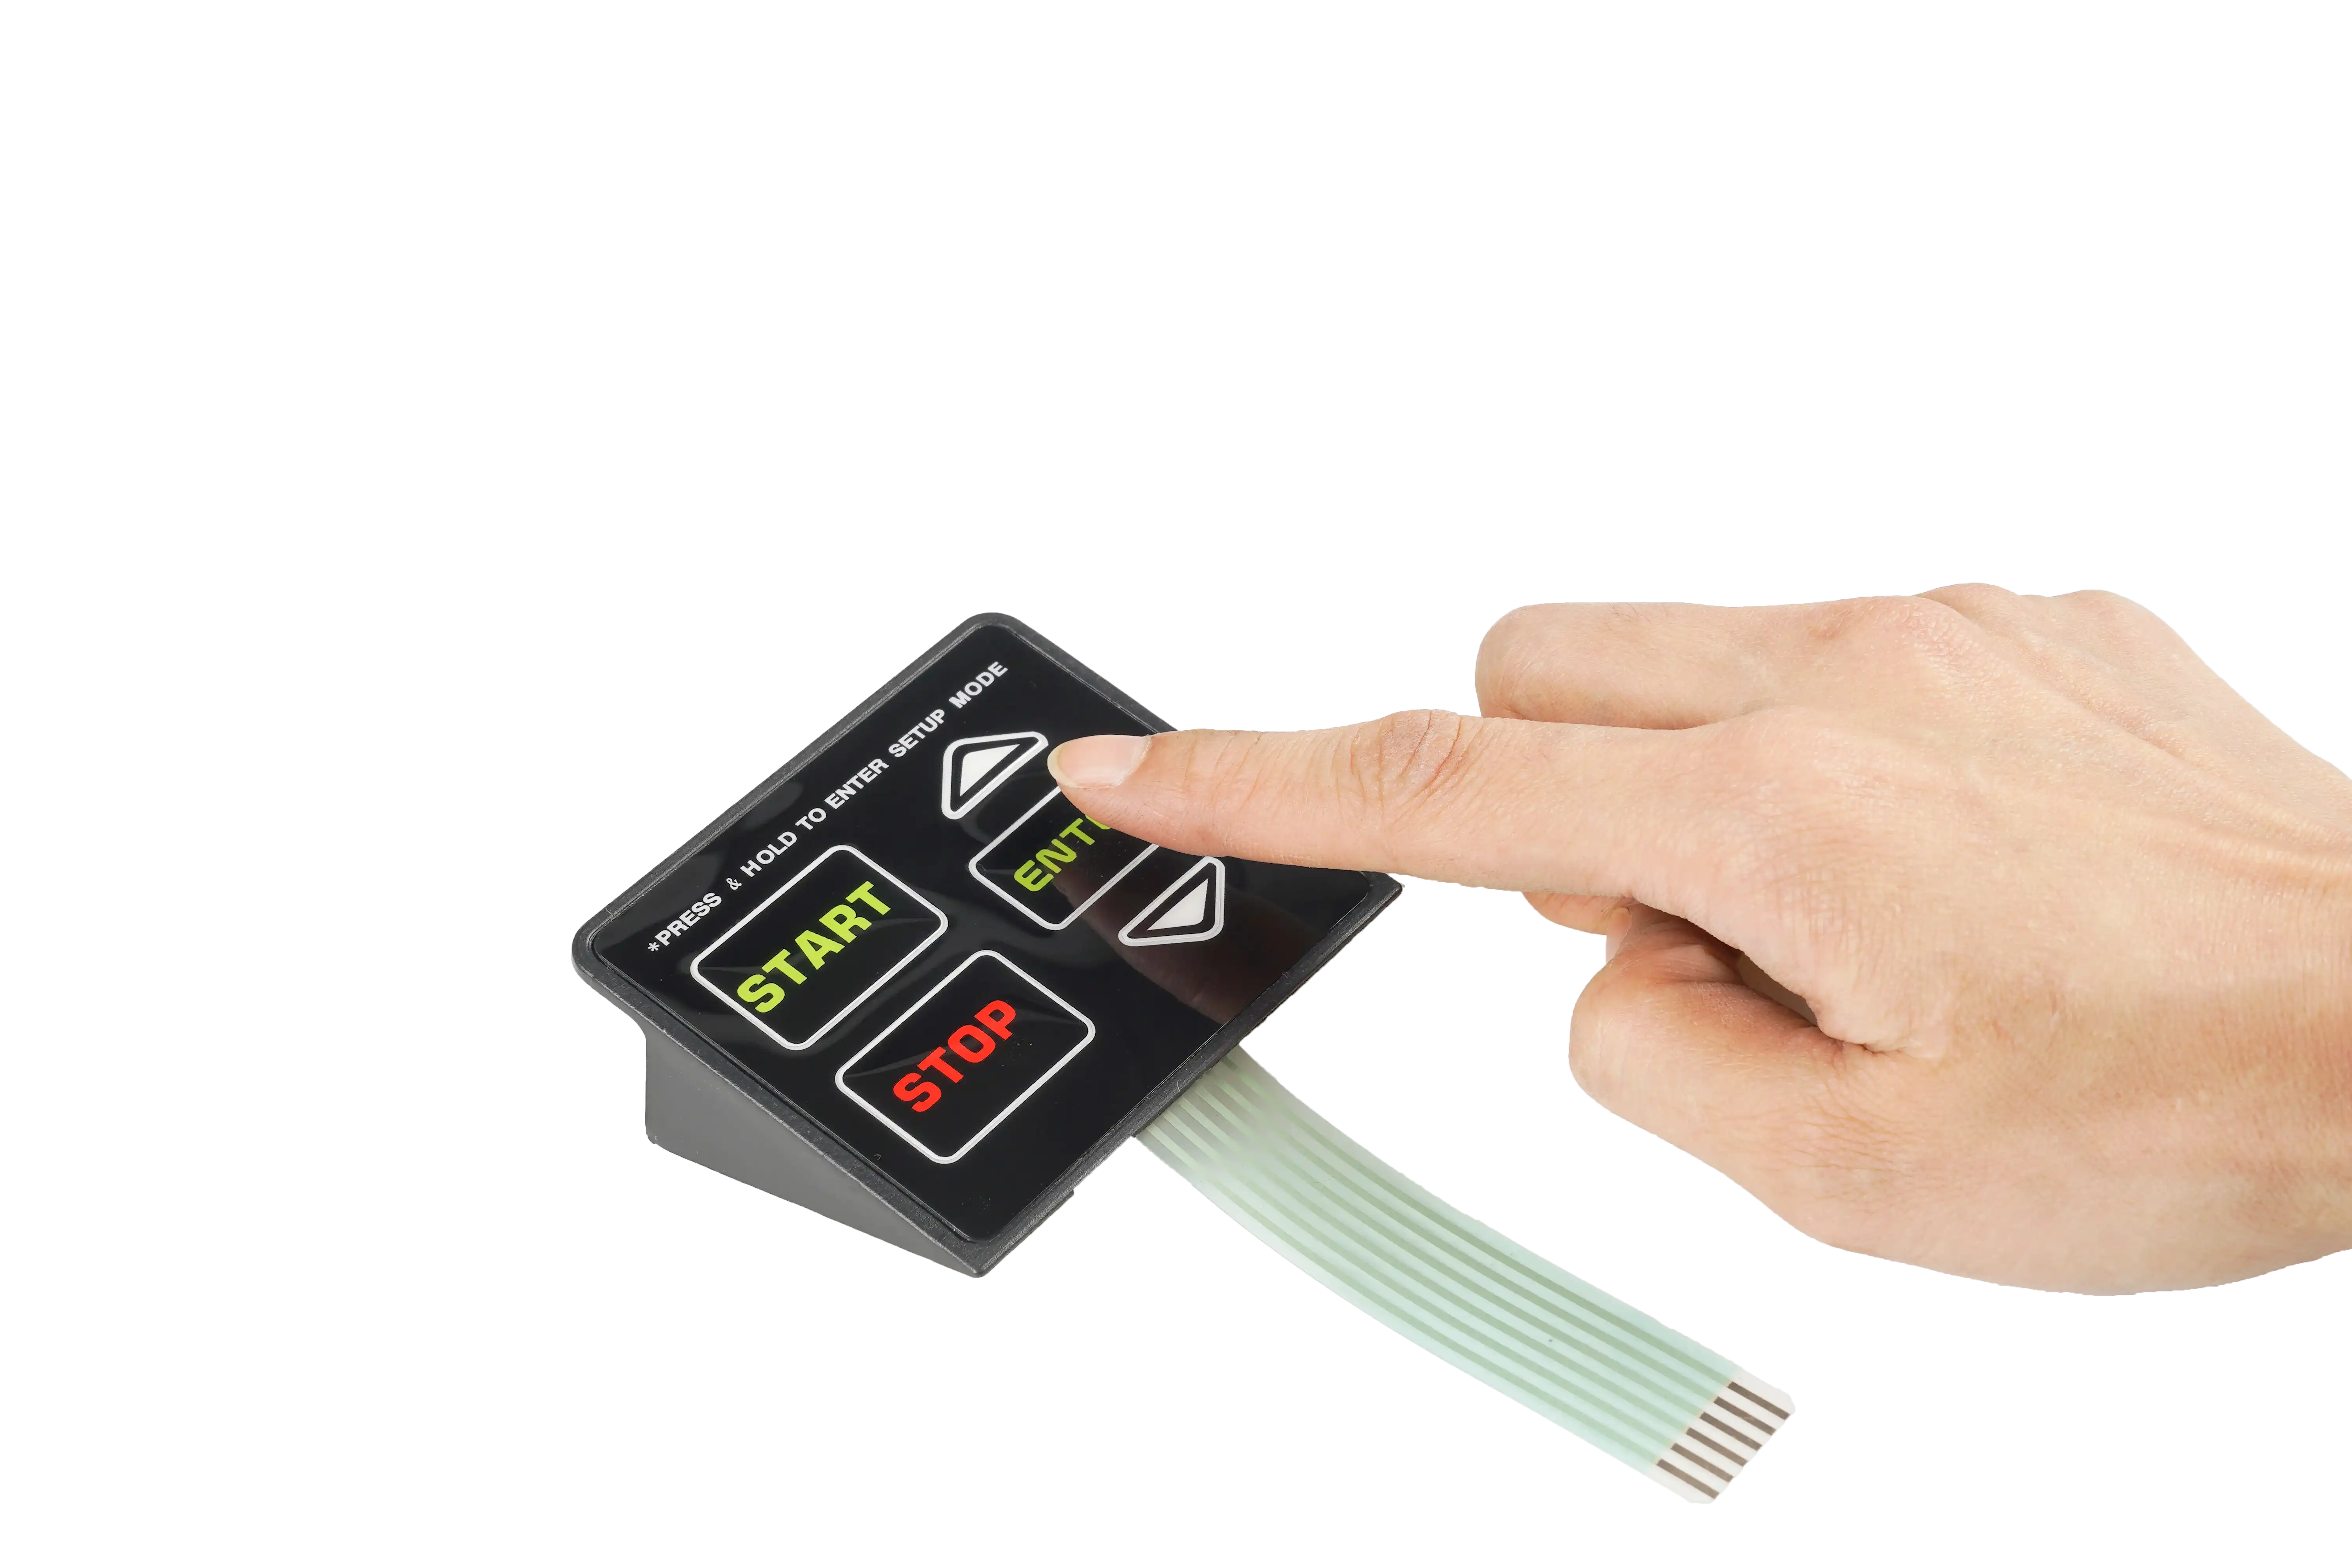
The inspection plan should follow the operator-critical details on the approved drawing, not a generic cosmetic checklist.
Prototype keypads prove key location, force, artwork, window clearance, tail routing, and housing fit. Production release adds controlled materials, revision records, electrical fixtures, cosmetic limits, packaging, and repeatability checks.
Start Keypad ReviewPrepare the key map, enclosure support surface, display openings, force targets, circuit pinout, tail route, connector, artwork, environment, and sample acceptance criteria before tooling.
Request DFM Review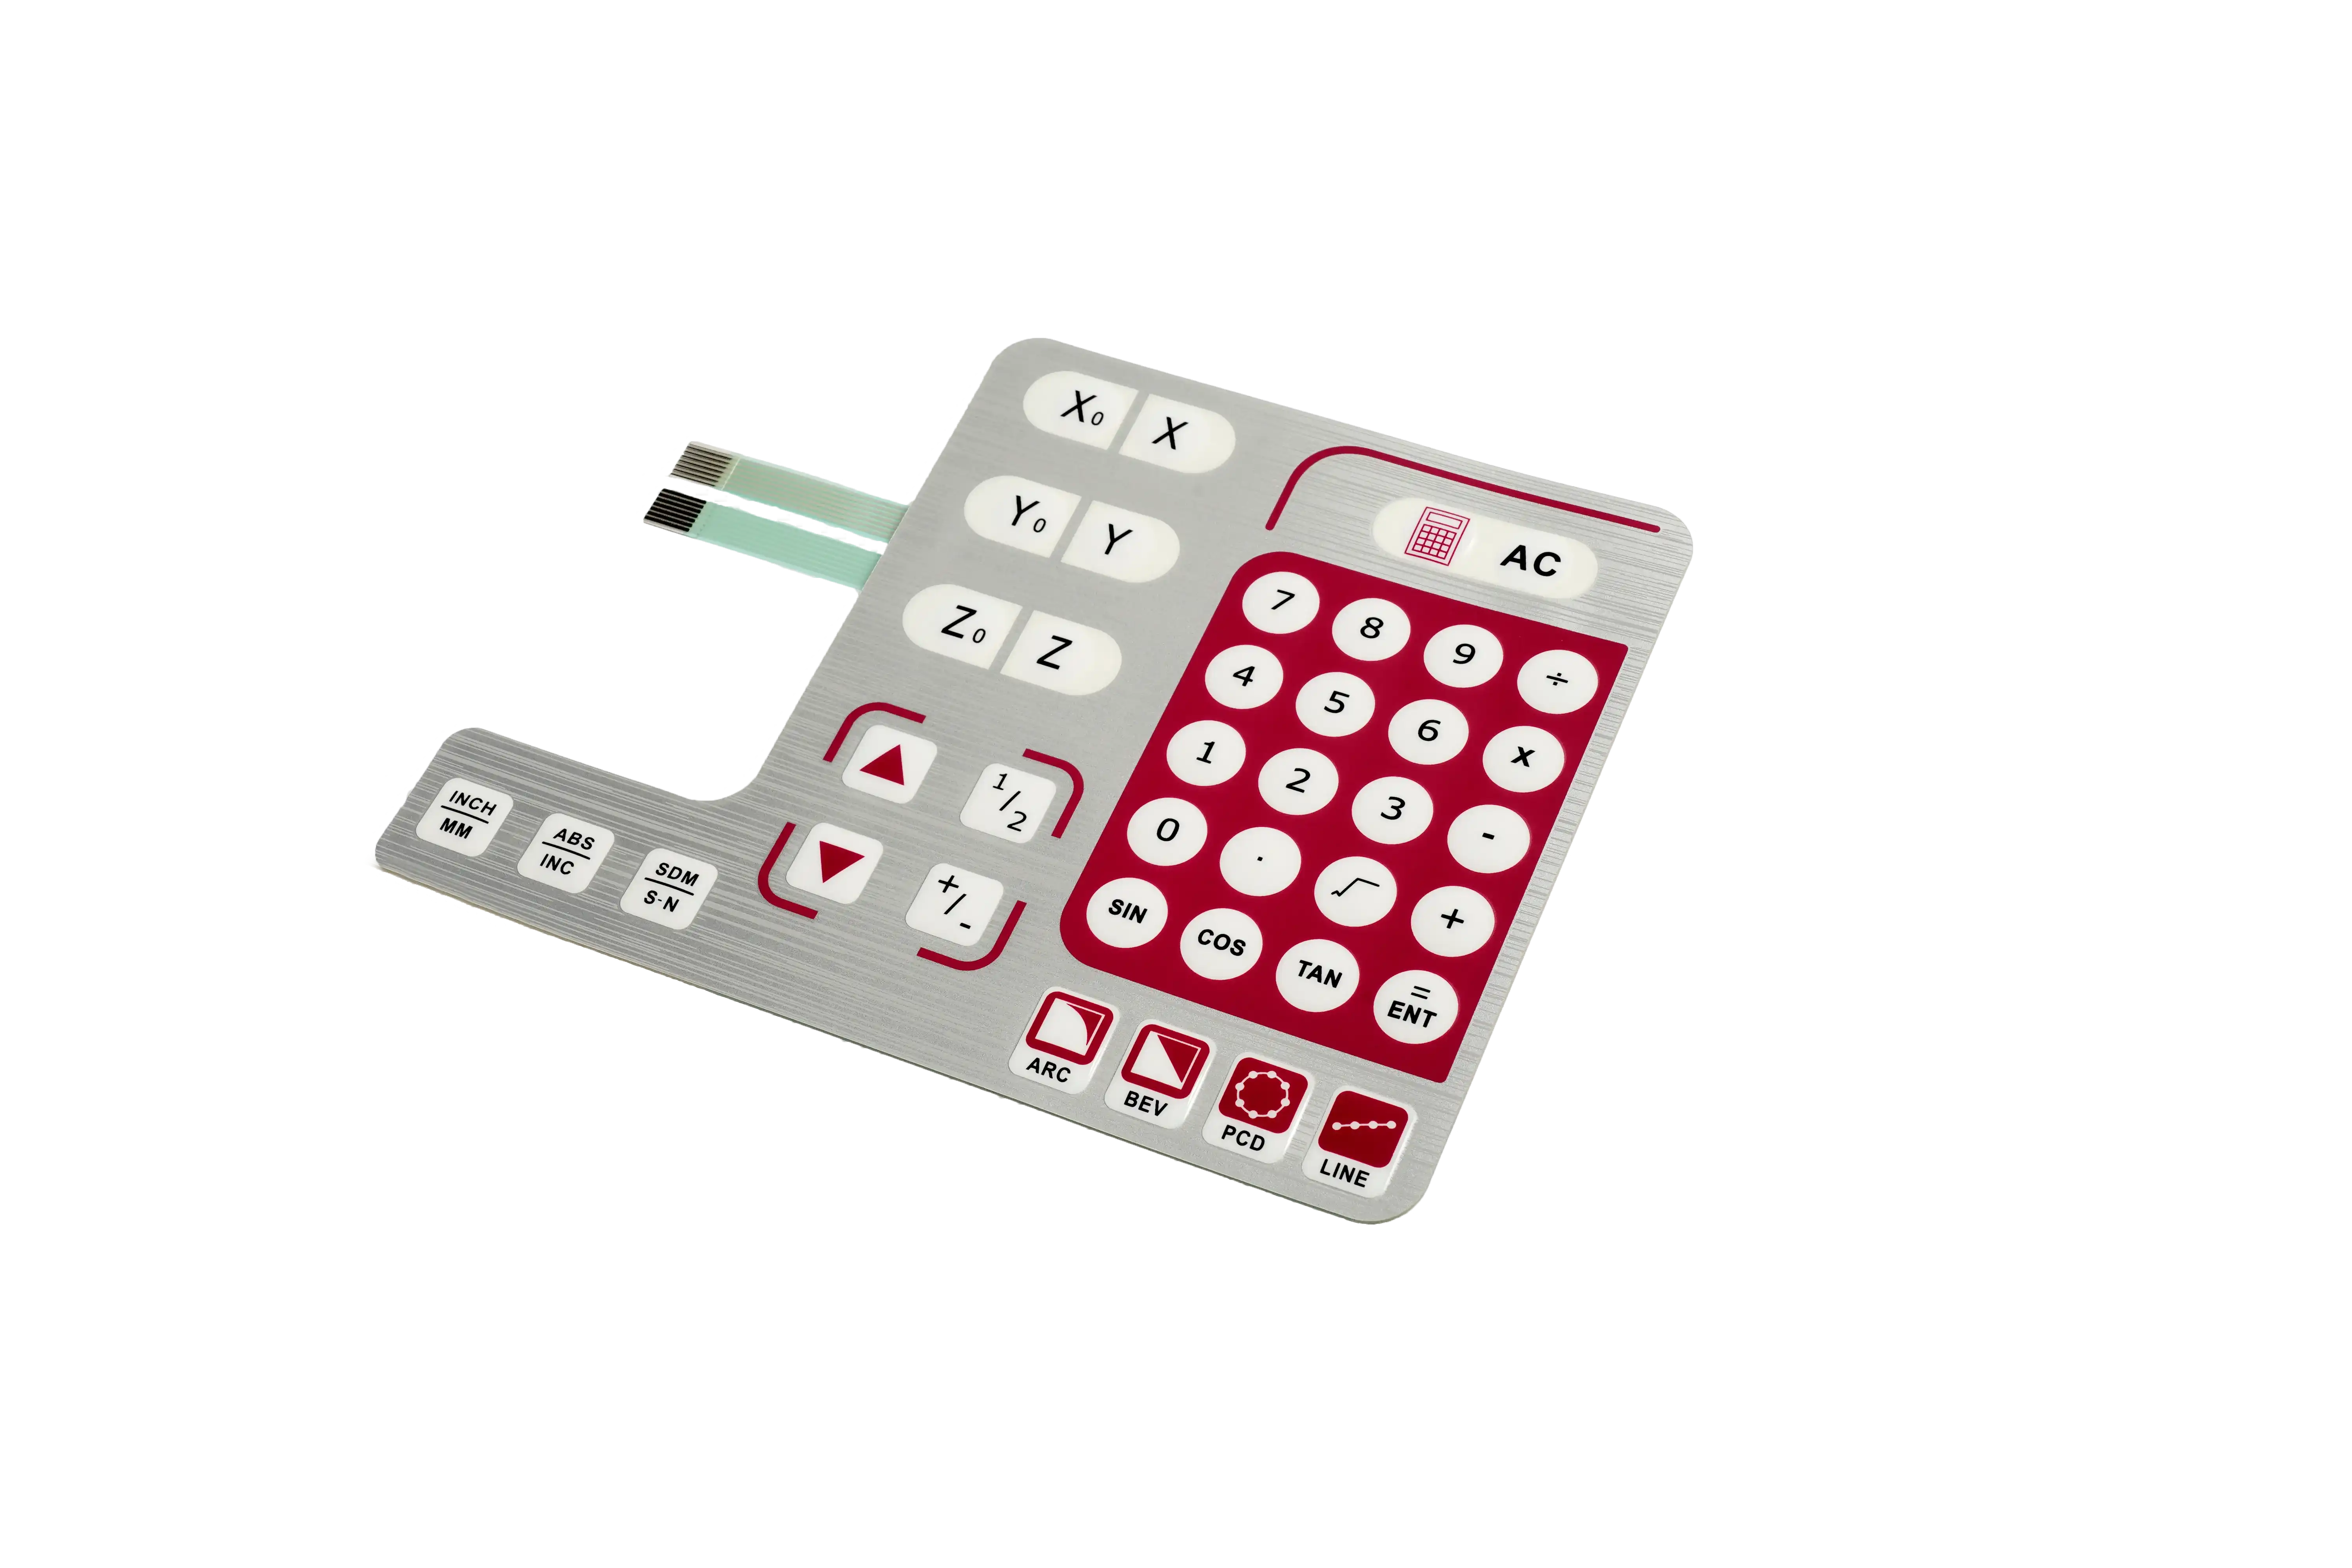
Each printed key area sits above a switching contact in the flexible circuit. A spacer holds the contacts apart until the operator presses the key. In tactile designs, a metal dome snaps through and closes the circuit; non-tactile designs use controlled overlay travel to make contact.
The circuit routes the keys as individual lines or a matrix to the flexible tail and connector. Key grouping, shared traces, LED circuits, and test points are resolved before the artwork and cut geometry are released.
The finished keypad bonds to the enclosure. The support surface beneath each key, adhesive thickness, vent paths, display openings, and tail clearance all affect the feel measured in the assembled product.
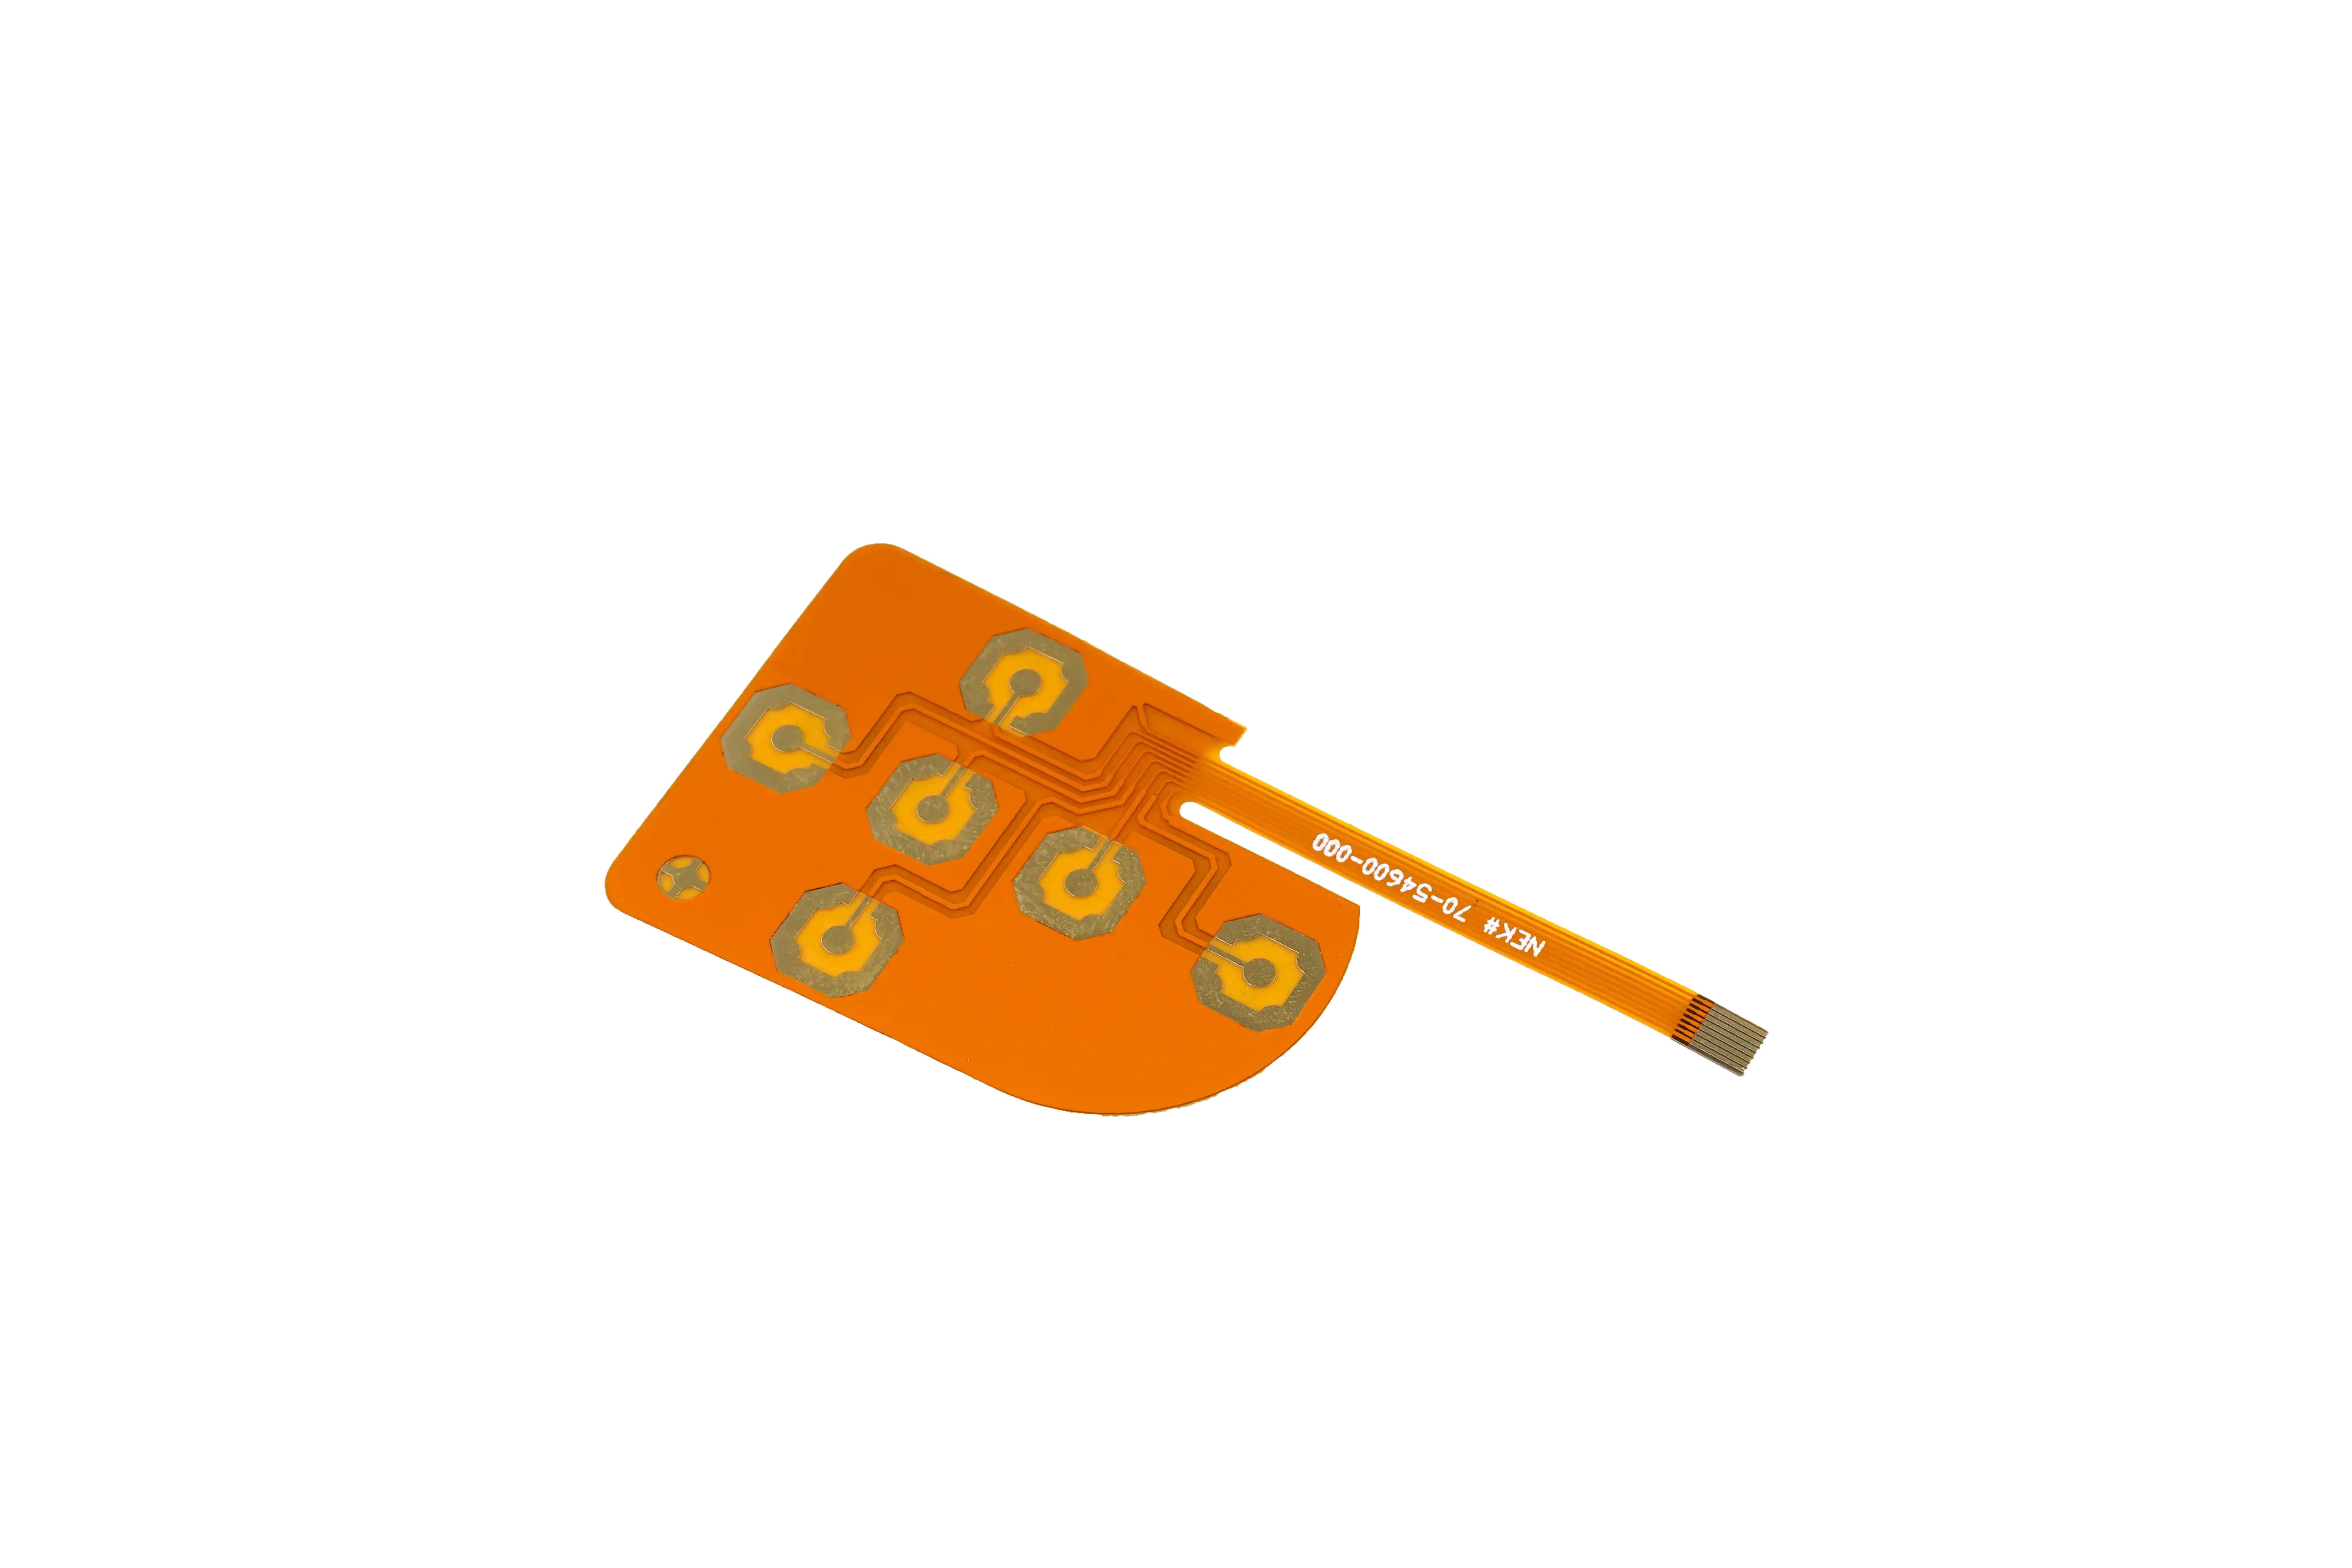
Base the layout on finger or glove size, press angle, frequency, enclosure edges, display clearance, and adjacent-key risk. Review a full-size sample instead of using one universal pitch.
Use tactile feedback when operators need a physical snap. Non-tactile keys can work when the controller provides immediate visual or audible confirmation and a quieter, thinner interface is preferred.
Yes. Coordinate artwork registration, legend size, emboss radius, clear windows, dome or contact position, overlay material, flex zones, and expected abrasion before tooling.
Provide the key identifiers, rows and columns, common lines, simultaneous-key rules, pinout, tail exit, connector orientation, and controller assumptions in one controlled electrical package.
Common causes include dome variation, overlay preload, uneven support, spacer or vent differences, off-center loading, adhesive pressure, enclosure flatness, and measurement on an uninstalled sample.
Check the complete key map, continuity, force, return, edge presses, simultaneous input, legends, windows, lighting, tail handling, connector fit, adhesive bond, and installed operation.
Compare operator feedback, dome construction, force, travel, and sample checks.
Read Guide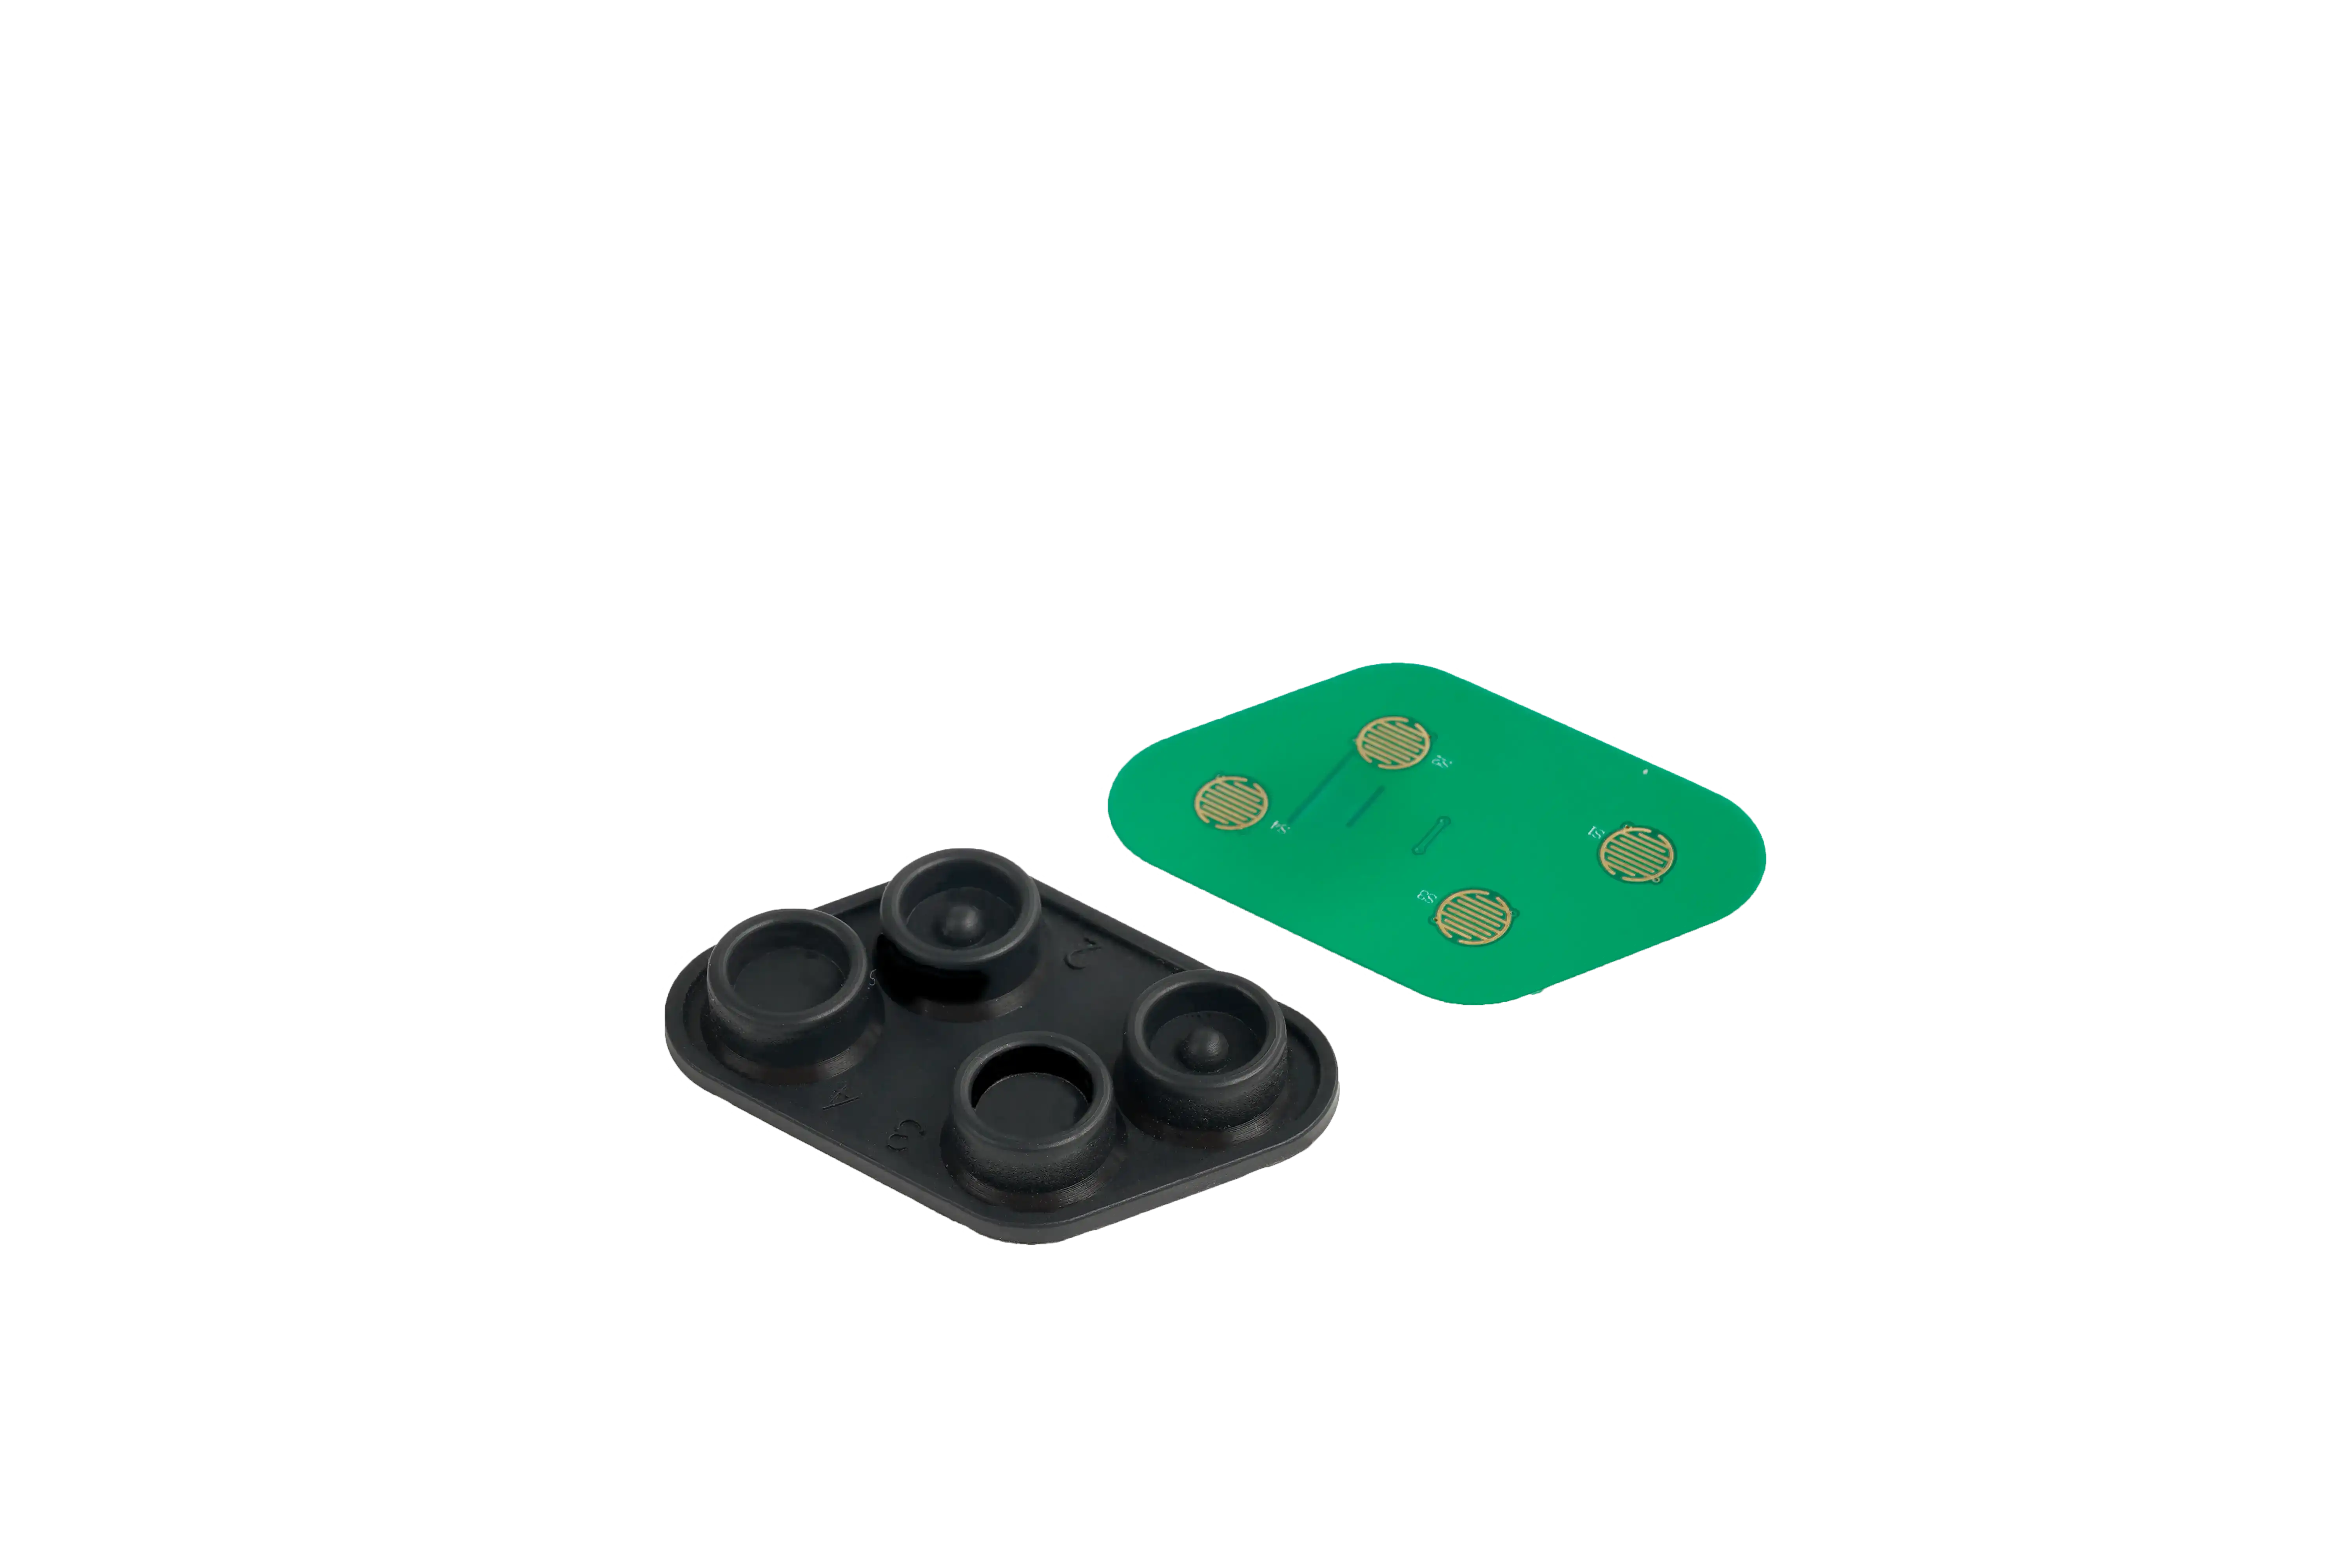
Choose between a thin printed keypad and a molded elastomer keypad for the enclosure.
Read Guide
Prepare key-map, circuit, connector, material, environment, sample, and quantity inputs.
Read GuideSend your keypad drawing for an engineering and quotation review.
Get a Keypad QuoteShare the project basics. JASPER will review the stack, materials, connector, quantity, and production risks.