
Artwork separation
Check dimensions, vector layers, fonts, icons, colors, opacity zones, windows, dead-front graphics, backlighting, cut lines, embossing, and revision identity.
Graphic overlay printing controls more than appearance. It defines operator information, color, opacity, display and LED windows, dead-front icons, backlighting masks, warning graphics, and protected legends. Those choices must align with the film, adhesive, embossing, cut geometry, enclosure, and approval method.
JASPER reviews graphic overlay printing as one part of the finished interface. The correct process depends on artwork, film grade and finish, color reference, opacity, transparent or tinted windows, lighting, embossing, adhesive, cut registration, cleaning exposure, UV, quantities, and repeat-order controls. Screen and digital methods are selected by the real graphic and production requirements rather than by one universal rule.
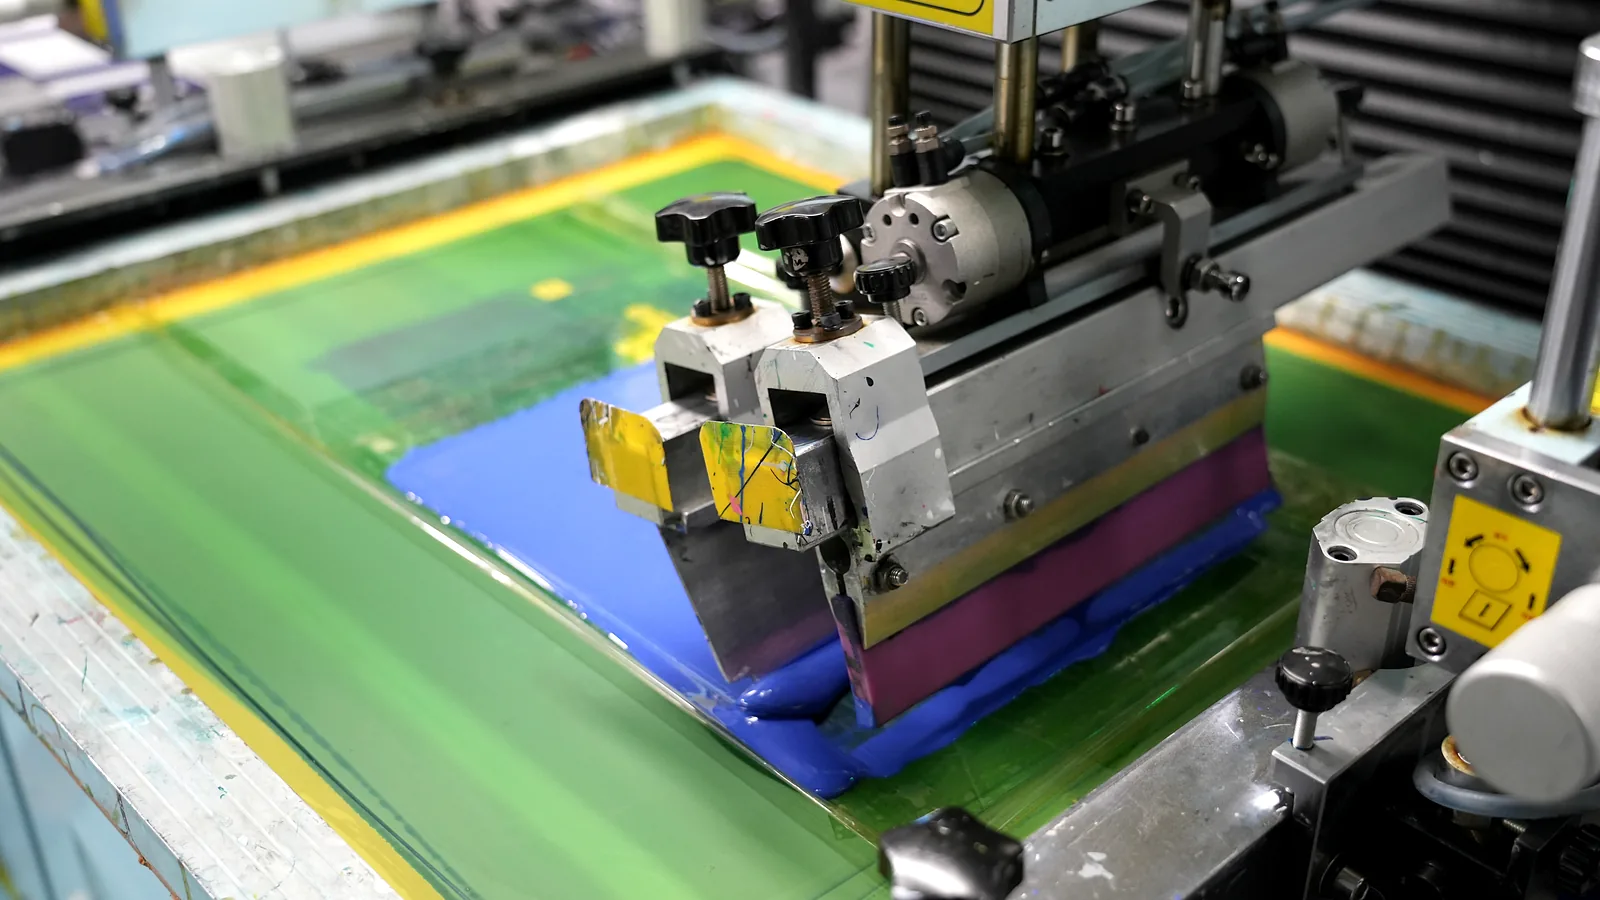
Printing defects often begin as missing artwork information or an approval performed outside the real viewing and assembly conditions. The process should keep those dependencies visible.
Check dimensions, vector layers, fonts, icons, colors, opacity zones, windows, dead-front graphics, backlighting, cut lines, embossing, and revision identity.
Select film, finish, print side, ink and white or blocking layers, screen or digital route, cure conditions, protective construction, and converting sequence.
Review color, registration, opacity, window clarity, surface, lit and unlit appearance, embossing, adhesive fit, cut edge, handling, and the intended enclosure.
Keep approved color and appearance references, active files, material identity, inspection criteria, change approval, protection, packaging, and lot records connected.
A single note such as 'print per artwork' does not define color, opacity, window, or viewing acceptance. Record the conditions that make the decision measurable or visually repeatable.
| Print decision | Information to approve | Risk if left open |
|---|---|---|
| Color and legend | Reference system, physical sample, lighting, substrate, print order, acceptable comparison method | Brand mismatch, warning-color rejection, unreadable legends, repeat-order disagreement |
| Opacity and dead-front | Hidden and active states, light source, masking layers, icon edge, viewing angle, ambient light | Ghost icons, light leakage, weak contrast, color shift, visible circuitry |
| Display and LED windows | Clear or tinted material, print border, registration, surface protection, adhesive clearance, inspection condition | Haze, scratches, contamination, clipping, misalignment, reduced display readability |
| Durability and assembly | Print side, hard coat, cleaners, abrasion, UV, embossing, die cut, adhesive, liner, housing surface | Worn graphics, cracks, lifted edges, distorted keys, poor fit, cosmetic damage |
Send the entire visible and converted structure. Printing cannot be separated from windows, light, embossing, adhesive, cutting, and the surface on which the overlay is mounted.
Yes, when the window material, tint, border, display opening, registration, surface protection, adhesive clearance, and inspection condition are defined for the project.
Pantone, RAL, physical samples, or approved printed references can guide color review. Critical colors should be approved on the selected material and finish under an agreed comparison condition.
Yes, for suitable clear-film constructions. Printing behind the film helps protect graphics from direct abrasion, while the film grade, finish, hard coat, edge exposure, and chemicals still need separate review.
Send layered vector artwork, hidden and active states, light-source position and color, opacity and tint targets, cover material, windows, adhesive and enclosure stack, viewing conditions, quantities, and sample approval criteria.
Send the artwork, material and finish, lighting and window conditions, adhesive surface, environment, quantities, and approval priorities for a printability review.
Share the project basics. JASPER will review the stack, materials, connector, quantity, and production risks.