
Home / Case Studies / Graphic Overlay Display Window
Anonymous engineering case
Graphic Overlay With a Clear Display Window Defined as an Optical Interface
A clear rectangle in the artwork is not yet a controlled display window. The visible result depends on the active display area, clear opening, printed mask, adhesive cutout, film surface, air gap, housing fit, cleaning method and the inspection state.
This page follows a representative equipment-overlay project from drawing review through powered-display approval. It does not identify a customer or promise a material, chemical or cosmetic result without project evidence.
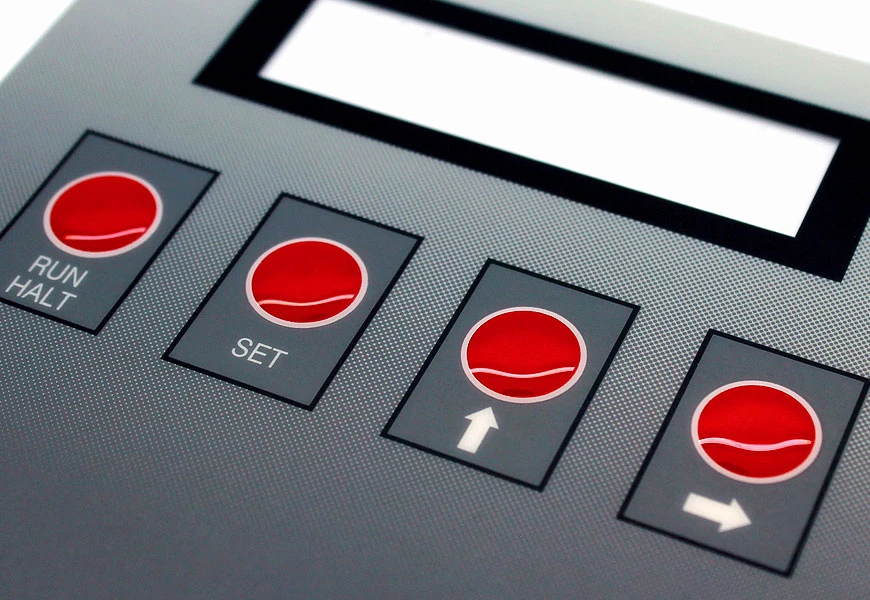
Window quality must be approved in the intended display assembly
A loose overlay can look clear on a light table and still perform poorly over the real display. Readability and appearance change with the display active area, bezel, background color, air gap, surface reflections, printed mask, adhesive edge, housing, illumination, viewing angle, protective liners and cleaning history. This example explains how to define and inspect those conditions without publishing an unsupported optical or chemical-resistance claim.
Project frame
The first sample needs a visual contract, not only an outline and color artwork. These five inputs define what the display window is expected to do.
One display window contains several different boundaries
The display active area belongs to the electronics. The clear opening belongs to the overlay. The printed bezel hides tolerances and unwanted edges. The adhesive keep-out prevents bond material from entering the visible zone. These rectangles should be dimensioned separately instead of sharing one assumed outline.
The film surface also changes what the user sees. A gloss window can preserve sharpness but reveal reflections and handling marks. A textured or anti-glare surface can reduce reflections while changing apparent contrast or detail. The useful choice depends on the actual display, lighting and viewing condition.
Cleaning resistance is another assembly question. Film, hard coat, ink, adhesive edge and printed graphics may react differently to a cleaner, wiping material, contact time and repetition. The exposure should be named and reviewed rather than reduced to a broad claim such as chemical resistant.
Five interfaces shape the visible result
A window defect is often assigned to the wrong layer. Following the optical path from the user to the display makes ownership and inspection clearer.
Film surface and clear zone
Film family, thickness, texture, hard coat, protective liner and forming history affect reflections, scratches, handling marks and the clarity seen over the display.
Printed mask and registration
The bezel, legends, warning text and background colors need stable registration to the opening and housing. The mask should hide the intended tolerance stack without covering the active display.
Adhesive cutout and edge
The adhesive opening needs its own clearance. Intrusion, exposed adhesive, trapped particles, liner damage or a visible cut edge can become more noticeable than the printed graphics.
Display spacing and illumination
Air gap, direct lamination, display brightness, off-state color, polarizer, backlight and viewing angle change how haze, reflections, print opacity and particles appear.
Housing support and assembly
Recess depth, bezel, surface flatness, edge support, pressure path and assembly access determine whether the overlay sits cleanly and whether the window can be inspected without distortion.
Inspect the window through four viewing states
A single front-facing photograph cannot establish a visual standard. The sample record should show when a defect is visible and whether it affects use or only appearance.
Unpowered display
Check the background, mask and exposed edges before illumination
Review bezel coverage, adhesive visibility, film haze, color uniformity, particles, scratches, fingerprints and whether the display outline shows through the intended graphics.
Powered display
Judge readability with representative content and brightness
Inspect active-area coverage, clipping, contrast, color shift, local haze, trapped contamination and the relationship between the displayed image and printed bezel.
Oblique and reflected light
Move beyond the ideal straight-on inspection angle
Use the agreed room light and viewing angles to reveal glare, surface waviness, scratches, texture transitions and adhesive edges that disappear under one inspection setup.
After handling and cleaning
Repeat the visual check after the defined exposure
Look for residue, gloss change, swelling, print damage, edge lift, stress marks, abrasion and new particles introduced by wiping or liner removal.
The first assembled sample had to answer four window questions
These decisions turn a general request for a clear window into a repeatable overlay and display approval process.
Which rectangle is the active display, clear opening, mask and adhesive keep-out?
Dimension every boundary from common datums and include the housing bezel. A single window outline hides the tolerance chain and makes later registration disputes difficult to resolve.
What should the user see under real lighting and handling?
Choose gloss, texture or another surface by comparing the actual display at the intended distance and angles. Record acceptable reflections, clarity, fingerprints and scratch visibility.
Which cleaner and wiping condition must the construction face?
Provide the product name or composition, concentration, contact time, wipe material, frequency and drying method. Review film, coating, print and adhesive edges under that defined condition.
When does a particle or scratch become a reject?
Divide the overlay into active viewing, bezel and general cosmetic zones. Define lighting, distance, angle, powered state, defect type and reference sample instead of relying on subjective wording.
What the buyer should approve during sampling
Approve the overlay on the intended display and housing. A loose film sample cannot reveal the final bezel relationship, adhesive edge, reflections or powered readability.
Lock the coordinate chain before printing
Align display active area, module outline, clear opening, printed mask, adhesive keep-out, housing bezel and external overlay outline to controlled datums.
Review flat print and surface specimens
Check color references, opacity, texture transitions, clear-zone appearance, legends, protective liner and exposure coupons before combining every variable in one assembly.
Assemble over a representative powered display
Use the planned housing, adhesive process, lighting, brightness, content, viewing distance and angles. Inspect unpowered, powered, reflected-light and post-cleaning states.
Release the visual reference with the drawing
Link the accepted overlay, display, housing, artwork, material, adhesive pattern, inspection setup, defect zones, photographs and signed sample revision.
Production controls for an appearance-critical window
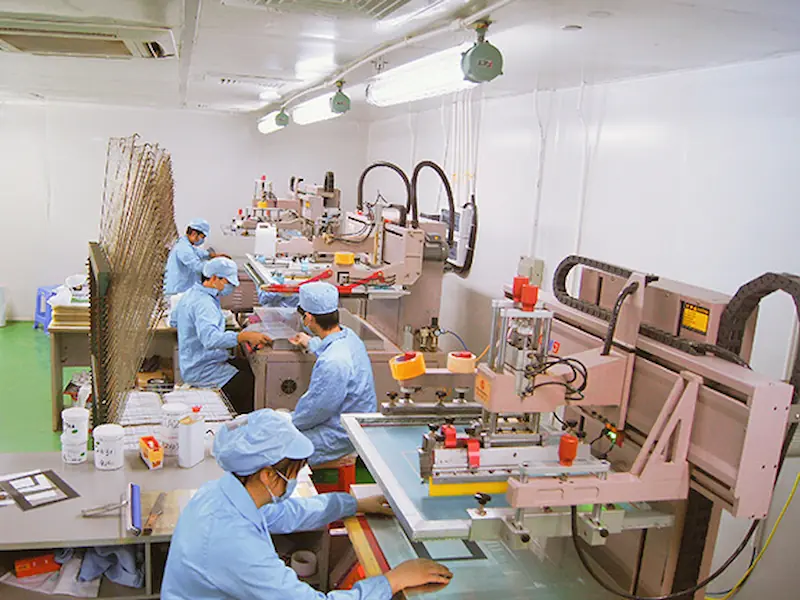
Window quality depends on more than a clean room. Printing, drying, die cutting, liner handling, lamination, work surfaces, inspection lighting and packing all need to preserve the approved optical zone.
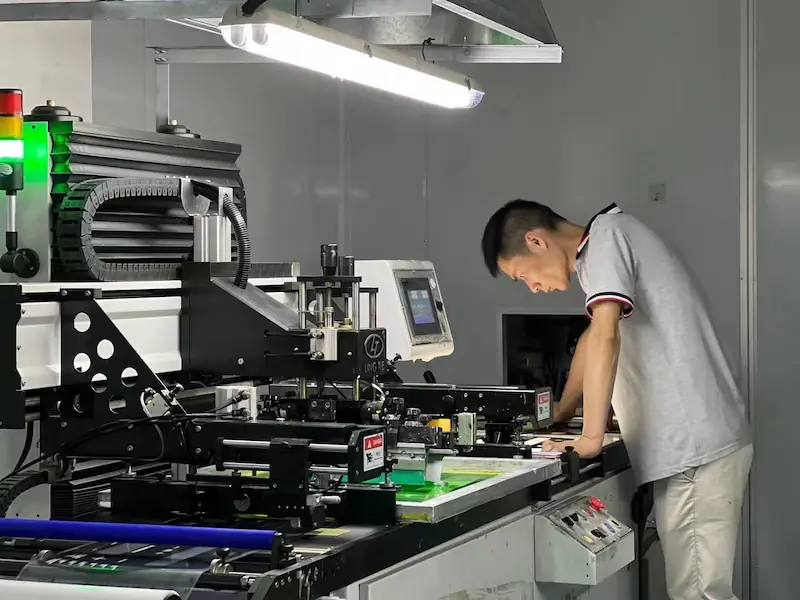
Printing and conversion control
Registration and opacity must stay tied to the released window geometry
Screen preparation, ink sequence, curing, alignment marks and cut registration should preserve the printed bezel, clear opening and external outline as one coordinate system.
- Artwork, color reference, clear zone and mask revision matched before printing
- Registration and opacity checked at the window edge and critical legends
- Adhesive opening and die-cut geometry compared with the same released datums

Clean handling and visual inspection
Particles, scratches and handling marks need a defined inspection state
Controlled handling reduces contamination risk, but the release decision still needs specified lighting, distance, background, defect zones, powered state and packing protection.
- Protective liners and clean work surfaces kept in place through conversion
- Active window, bezel and general cosmetic zones inspected separately
- Accepted parts packed so window surfaces do not rub or collect debris
What to send before the window artwork is released
A display drawing and a short visual standard remove more uncertainty than a generic note requesting a clear, scratch-resistant window.
Active area, module outline, bezel, polarizer or cover details, brightness, off-state color, viewing direction and display samples or datasheet
Vector file, external outline, clear opening, printed mask, legends, warning text, color references, opacity zones and registration datums
Viewing distance and angles, room lighting, glare concern, clarity or haze expectation, active cosmetic zone, particle and scratch rules
Named cleaners, concentration, contact time, wipe material, frequency, drying method, gloves, abrasion and other handling conditions
Bezel and recess drawing, mounting material, texture, flatness, support, adhesive land, keep-out, edge condition and assembly pressure
Representative display and housing, powered content, inspection setup, exposure method, reference sample, photographs and required records
Continue the review with the underlying technical pages
These pages cover the product family, material boundary, adhesive interface, applications and review process behind a display-window overlay.
Questions that usually come up before a similar RFQ
Can JASPER manufacture graphic overlays with clear display windows?
Yes. JASPER can manufacture custom printed graphic overlays with clear windows, printed bezels and legends, surface finishes, adhesive backing and project-specific cut geometry. The window should be approved over the intended display and housing.
Should the active display area and clear overlay opening use the same dimensions?
Not automatically. The active image area, clear opening, printed mask, adhesive keep-out, display module and housing bezel serve different purposes and should be dimensioned from common datums with an agreed tolerance chain.
Can a clear display window also be anti-glare or textured?
Surface options can be reviewed, but reducing reflections may also change apparent sharpness, contrast or haze. The decision should be made with the actual display, lighting, viewing distance and angles.
How should cleaning or chemical resistance be specified?
Name the cleaner or composition, concentration, contact time, wipe material, frequency and drying method. Film, hard coat, ink, adhesive edge and assembly should then be reviewed or tested against that defined exposure.
What is the minimum information needed for a first display-window review?
Send the display and housing drawings, vector artwork, active area, clear opening, bezel, adhesive keep-out, material or finish preference, lighting and viewing conditions, cleaning exposure and the visual acceptance method.
Define the window before the first sample defines it for you
Send the display drawing, vector artwork, clear opening, printed mask, adhesive keep-out, housing section, lighting and viewing conditions, cleaning exposure and visual acceptance rules. JASPER can review the open optical and manufacturing decisions before the artwork is released.